
Use
This widget can be used to include an animated interactive process image in the Dashboard. Process images can be created individually with the help of the Animation Manual. You can find examples of this in the area below.
You can find how to create a process image and the corresponding SVG, along with more examples, in the Animation Manual.
|
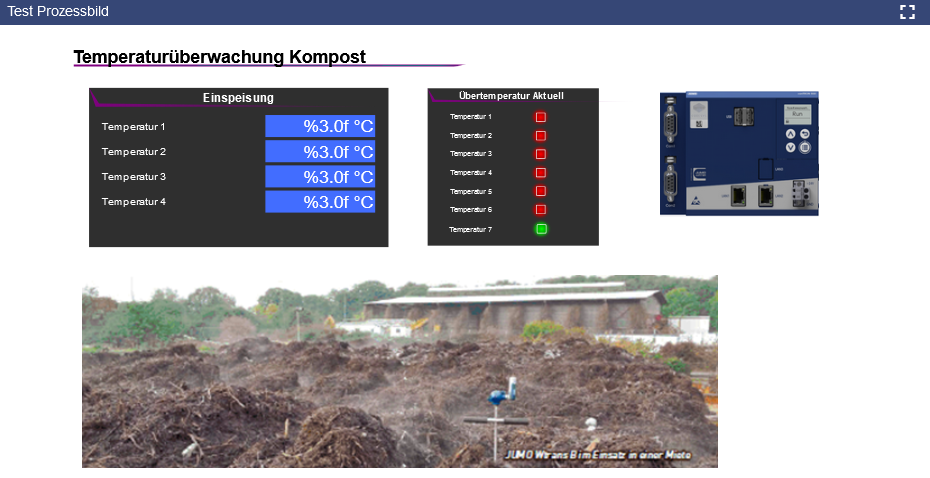
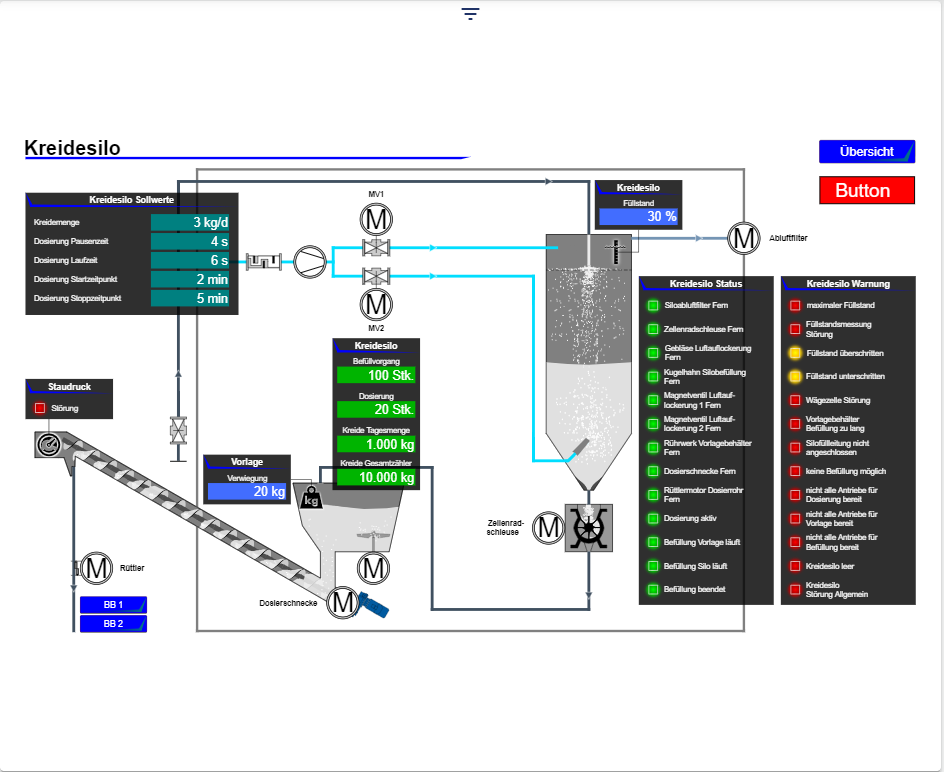
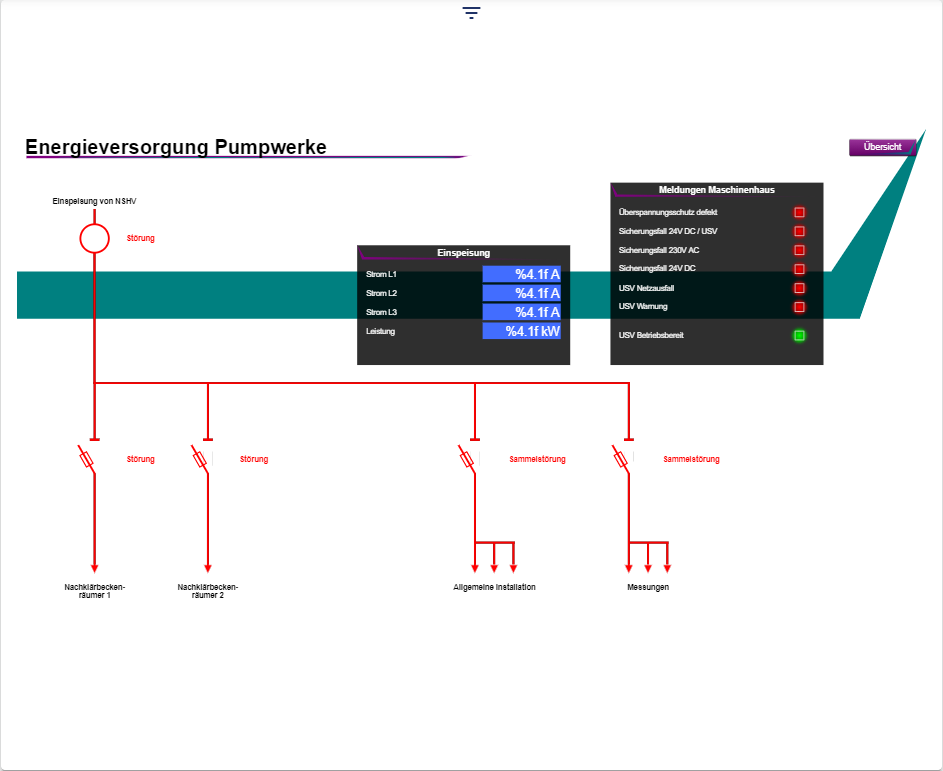
Example 1 |
Example 2 |
Example 3 |
|---|---|---|
|

|

|
Configuration
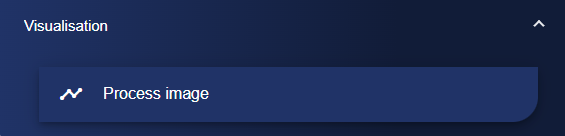
Select the Process Image widget from the Visualization category.
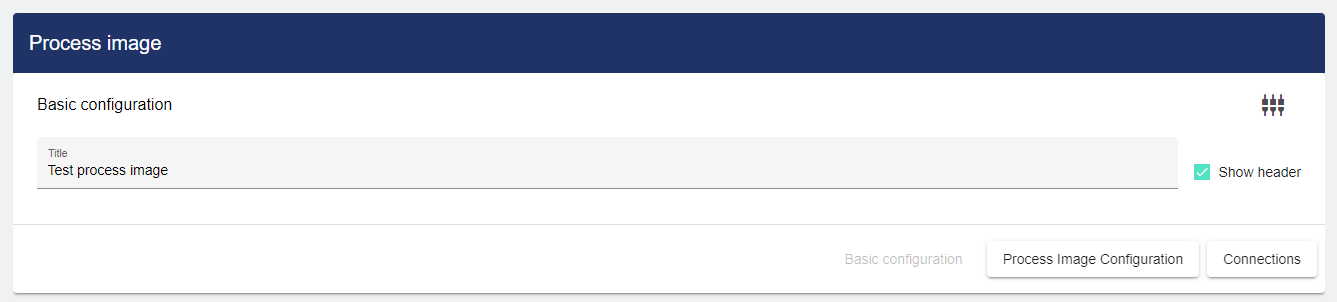
Assign a suitable title in the Basic Configuration for the process image. The header can be displayed by selecting the check box. The optional entry of a base tag can speed up the commissioning of several similar process images.
Then go to the "Process Configuration" tab and click "Select Process Image".
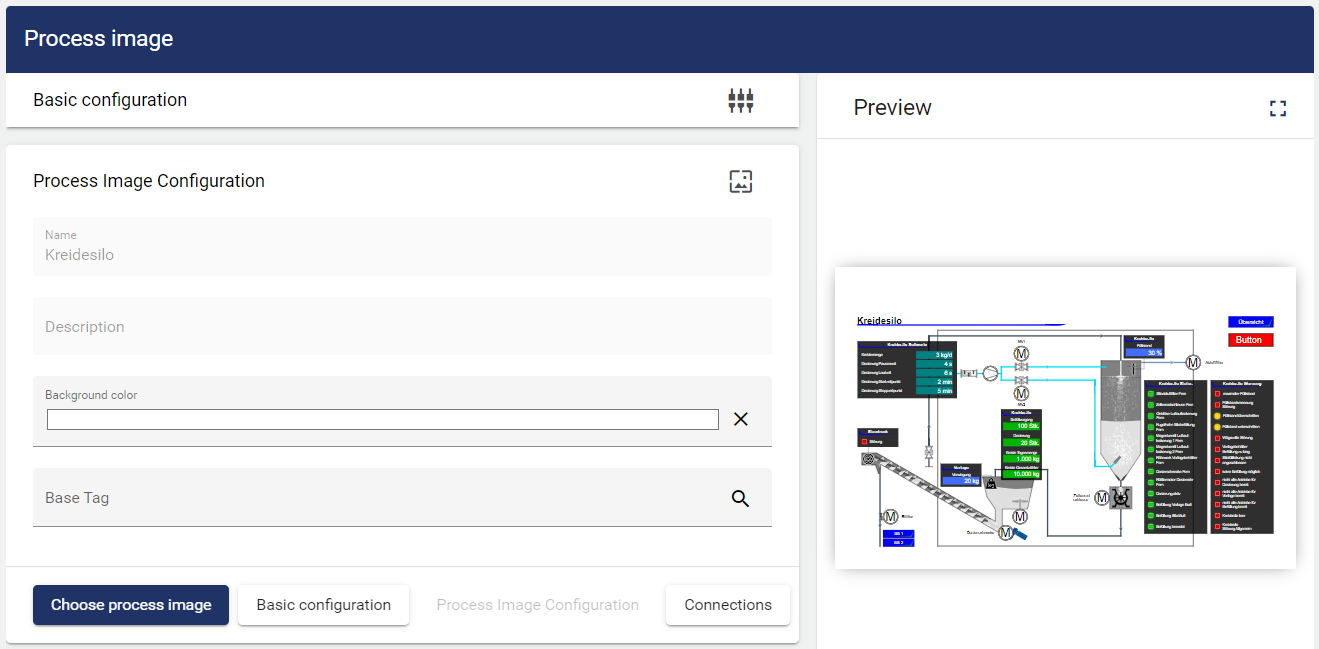
Using "Background Color", you can set an individual color for the process image background.
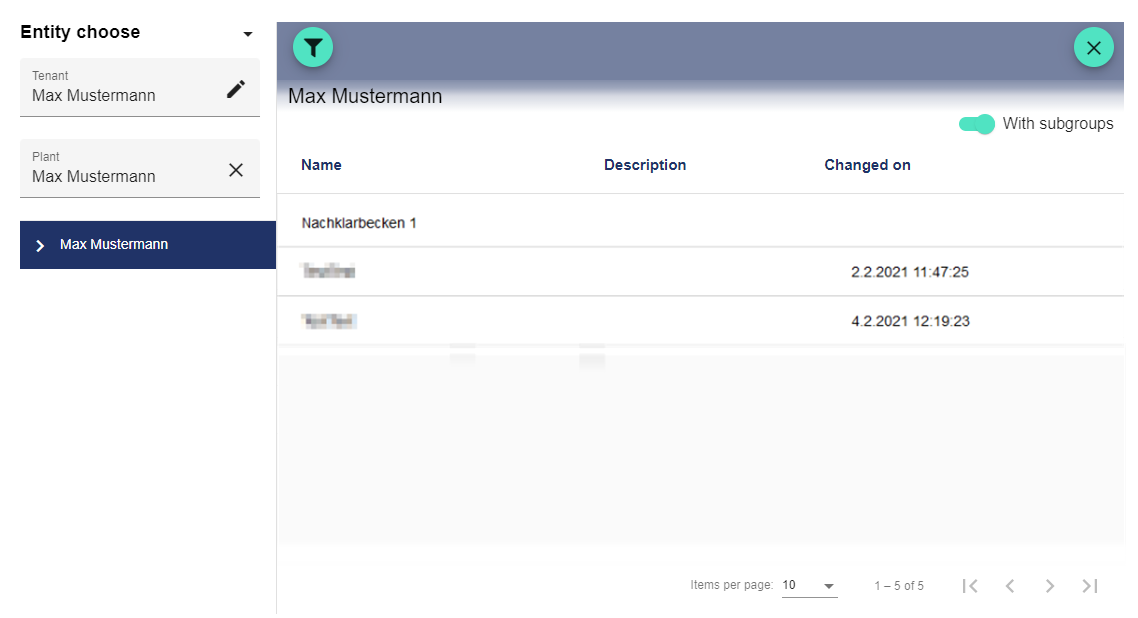
Clicking "Select Process Image" opens the Entity-Select window. You can add process images that were created earlier.
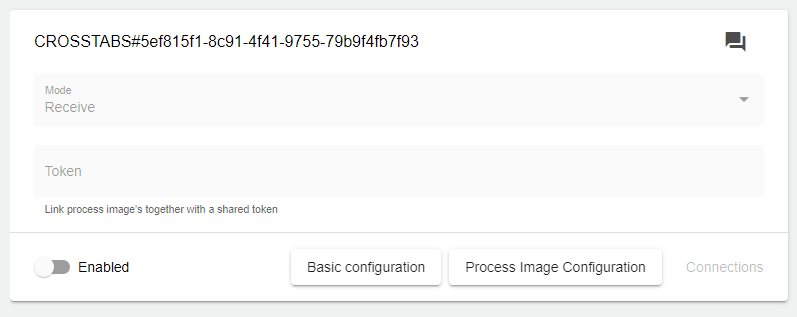
If you want to display your process image across all tabs, you must first activate the "Cross tab" function. The settings for the configuration are activated by clicking the "Activated" button. Now you can use the "Mode" drop-down menu to choose your mode for this process image.
|
Send |
If the mode is set to "Send", this process image is sent to another process image widget |
|---|---|
|
Receive |
If the mode is set to "Receive", the process image change is performed on this process image |
A token must be assigned before you can use the functions from the "Mode" drop-down menu. This must be clearly defined and used in both process images.
You can use the "Cross tab" function to change a process image across tabs. However, this change does not take place globally, but only on the terminal device that is currently being used. It does not matter where the process image widgets are created. The token created for this purpose serves as identification and "links" the process images together. The process images then perform their task during the process image change, depending on which mode was selected for them.
|
Step 1 |
Step 2 |
|---|---|
|
|
|
Clicking on the "Button" (red button) changes the process screen across all tabs. |
The new, previously linked process image is now displayed in this process image widget. |
Once you are satisfied with your configuration, you can save it.