Inkscape (from the English "ink" and "scape" as in "landscape") is free, platform-independent software for editing and creating two-dimensional vector graphics.
The vertical toolbar on the left shows Inkscape's drawing and manipulation tools. In the upper part of the window, below the window bar, is the command bar with standard menus and the tool input bar for tool-dependent inputs. The status bar at the bottom displays useful hints and information while you work.
Project Creation
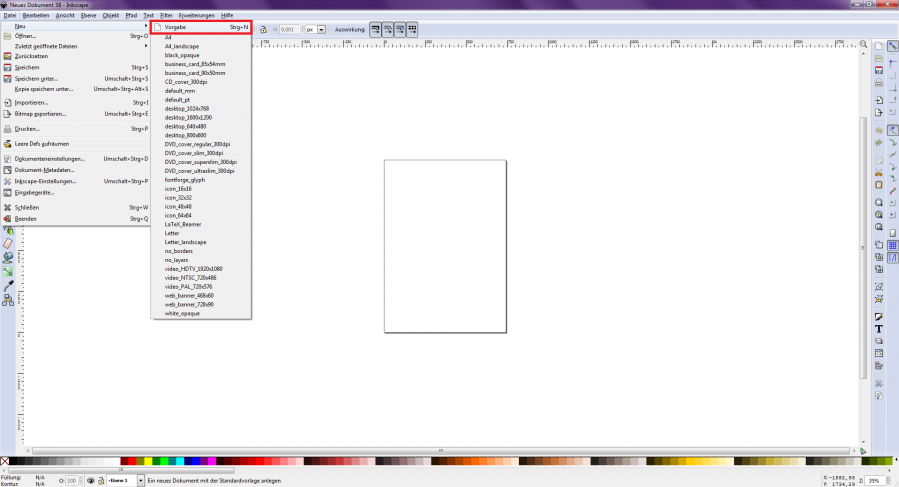
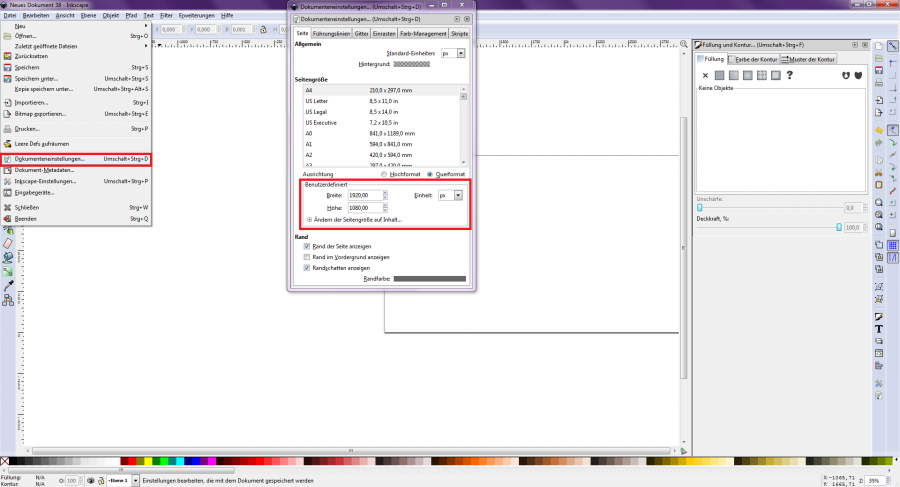
At the beginning of a new project, a blank page must be created and the page size set to the required dimensions. Here you can choose between mm, cm, px and other units of measurement [Figure 1]. The size 1920×1080 px is mostly used for drawing. You can find the window for setting the page sizes under "File → Document Settings" or via the key combination "Shift + Ctrl + D" [Figure 2].
[Figure 1]
Drawing
[Figure 2]
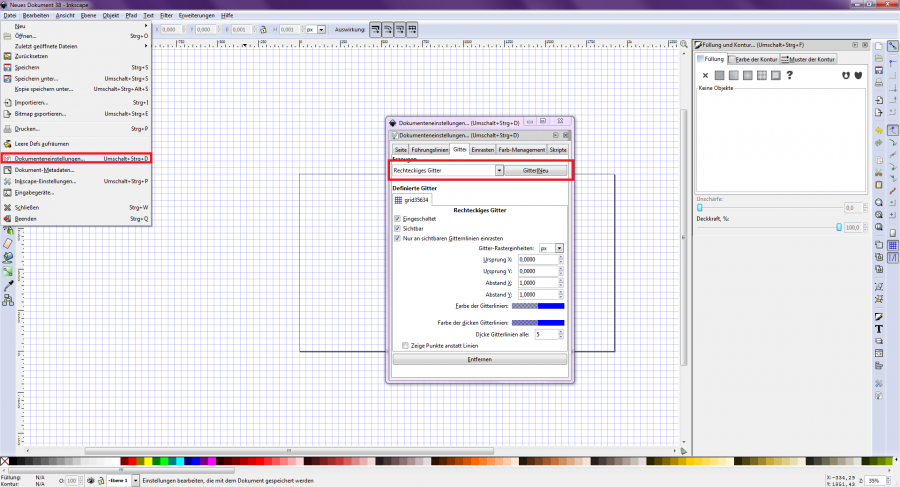
The toolbar on the left side offers many options for drawing. All elements can be rotated, enlarged, reduced, reshaped, etc. The grid, which can also be found under the "Document Settings" menu item, is a great help [Figure 3]. Using the grid makes it easier to connect objects and maintain proportions.
Simple Shapes
[Figure 3]
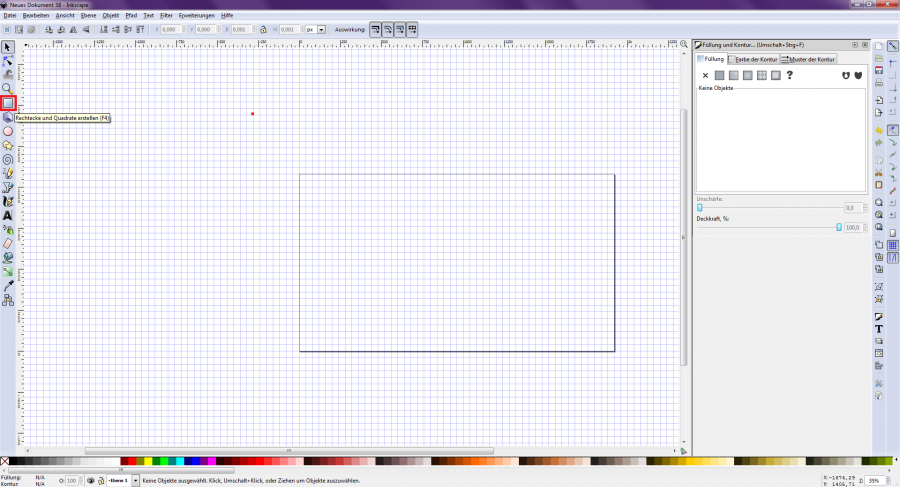
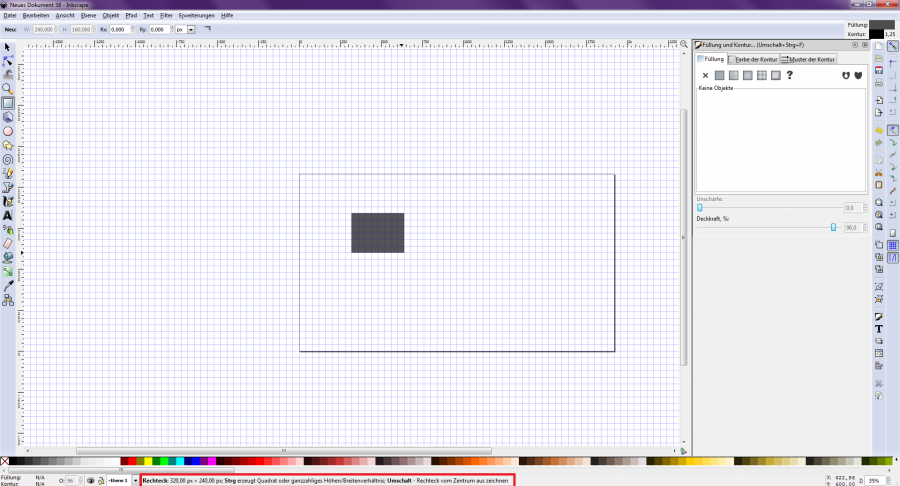
To draw a rectangle, select the fourth tool from the top in the toolbar, which is shown as a square [Figure 4]. If you drag a rectangle on the page, the current dimensions are displayed for you in the lower information bar [Figure 5]. If the grid is activated, the rectangle snaps into the grid by itself. Once you have created the rectangle, you can select the element using the top tool in the "Select and modify objects" toolbar.
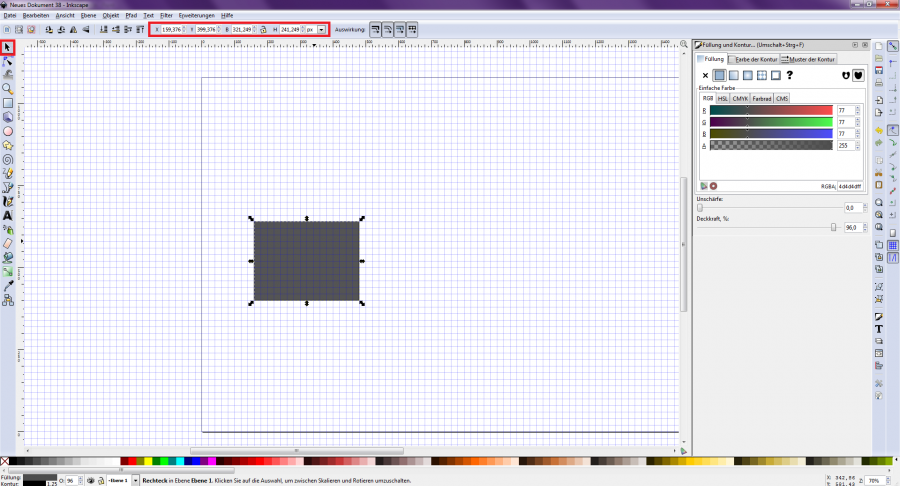
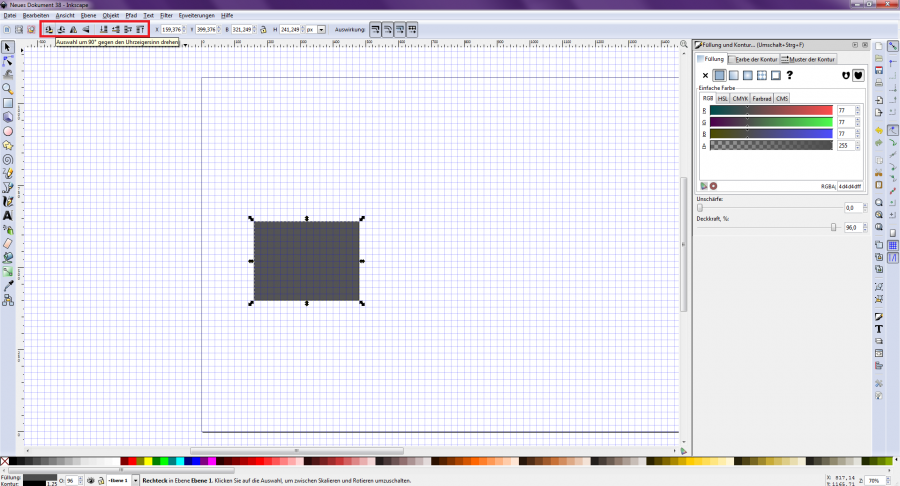
You can now see the exact dimensions of the element and the coordinates within the newly created page and adjust them if necessary [Figure 6]. In the upper command bar, the element can be rotated and lowered or raised [Figure 7].
[Figure 4]
[Figure 5]
[Figure 6]
Complex Shapes
[Figure 7]
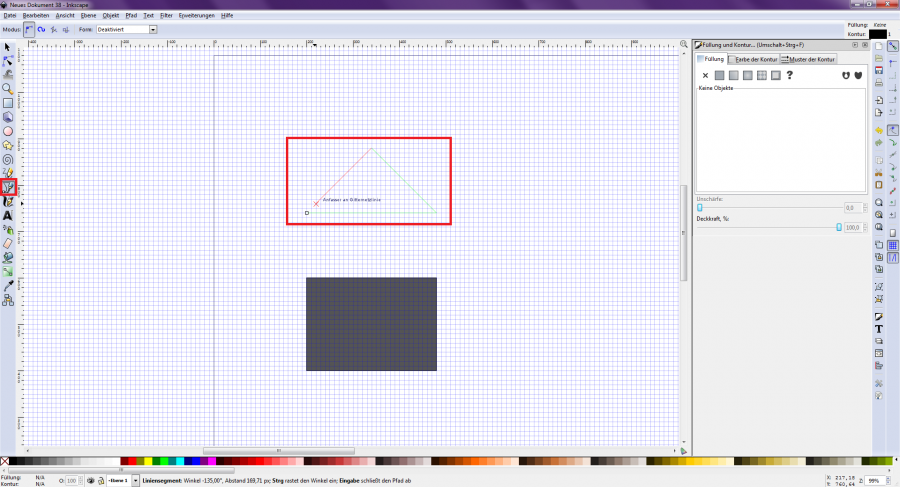
Other shapes such as triangles can be drawn using the "Draw Bézier curves and straight lines" tool. To do this, select the tool and click the points where you want the corners of the triangle to be [Figure 8]. This tool can also be used to create many other shapes and figures. Straight lines can be created by pressing the right mouse button after the second point has been set.
Contour and Filling
[Figure 8]
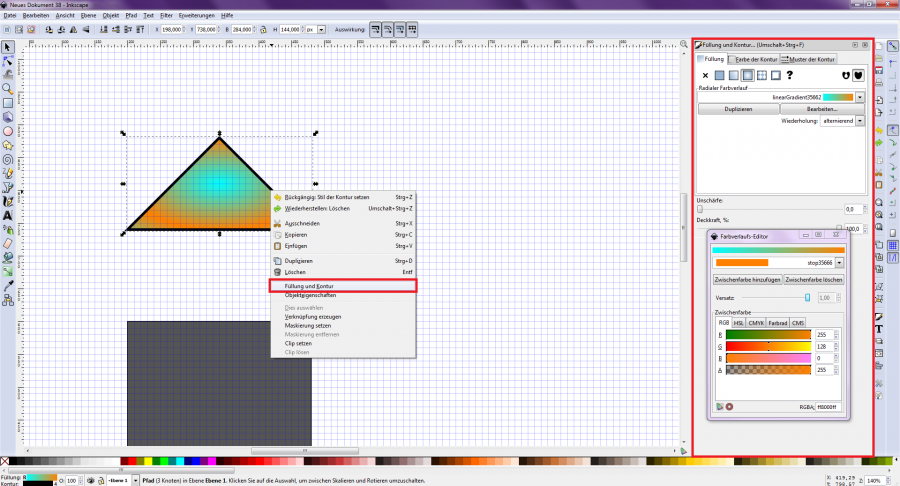
Each element can be assigned a specific infill and contour. To do this, select an object and then press the right mouse button. A selection window opens. Here you select the button for "Fill and Contour" on the left side of the shortcut bar. The "Fill and Contour" window then opens on the right-hand side, offering further setting options. Key combination: Ctrl + Shift + F [Figure 9].
Here you can make settings for the color, contour and contour properties. Various color gradients and patterns are available for the infill as well as the outline.
Texts
[Figure 9]
To insert texts into the drawing, use the "Create and edit text objects" tool in the left toolbar. [Figure 10] To enter the text using the tool, it suffices to click on a place in the drawing.
In the upper status bar, there are more options for adjusting the font, font size and other settings. Once the text box has been created, it can be freely edited, enlarged, rotated, etc., just like any other element.
Paths
[Figure 10]

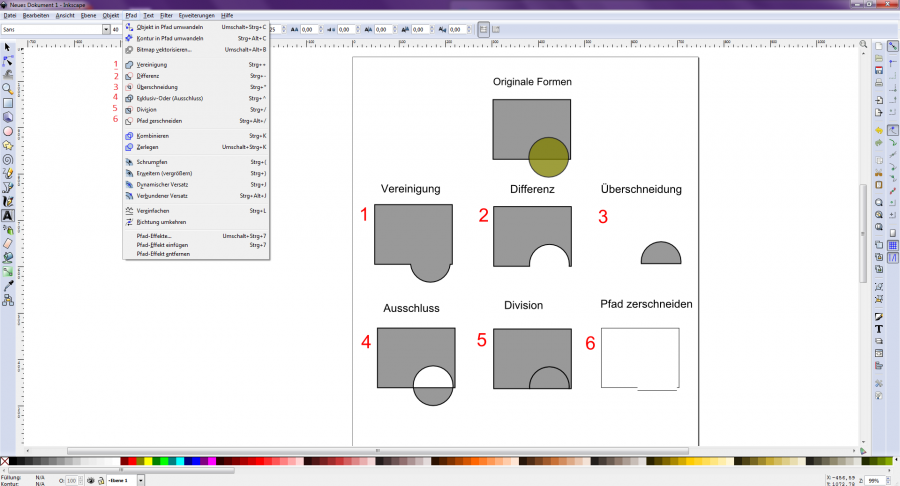
It is possible to combine or modify several different paths (elements). To do this, select "Paths" and a number of editing options are displayed in the window [Figure 11]. When two elements are combined, they take on the same color and functions. A combination should not be confused with a grouping. Grouping is useful when several objects are to be moved or animated at the same time.
[Figure 11]