
Use
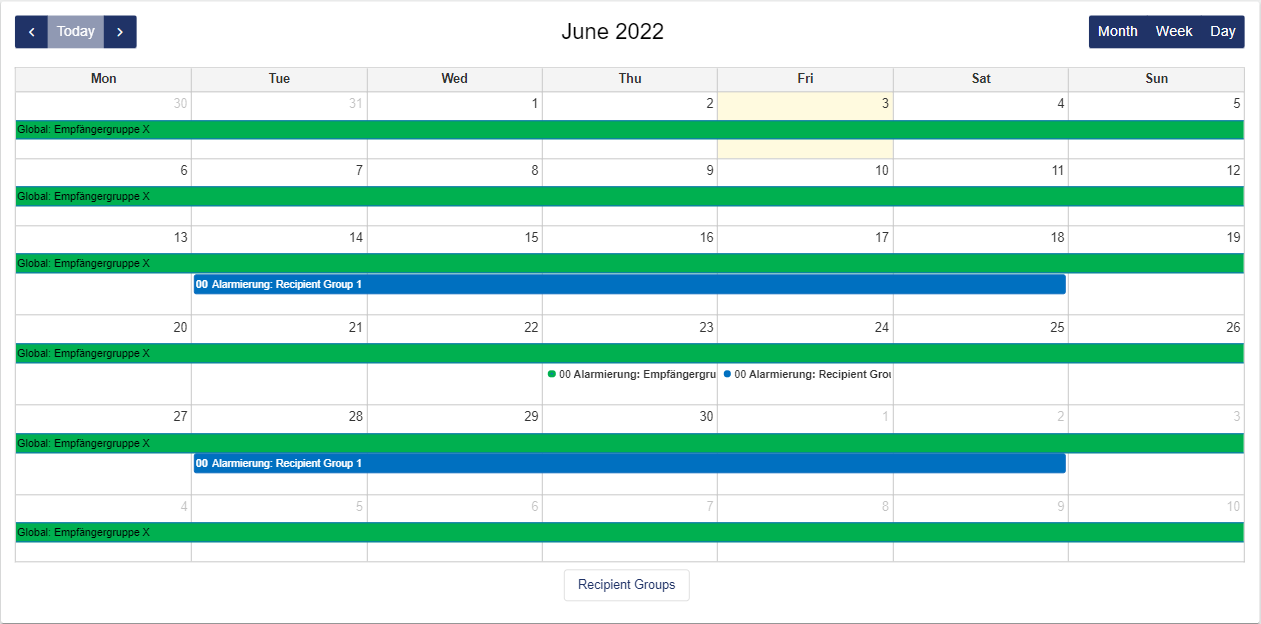
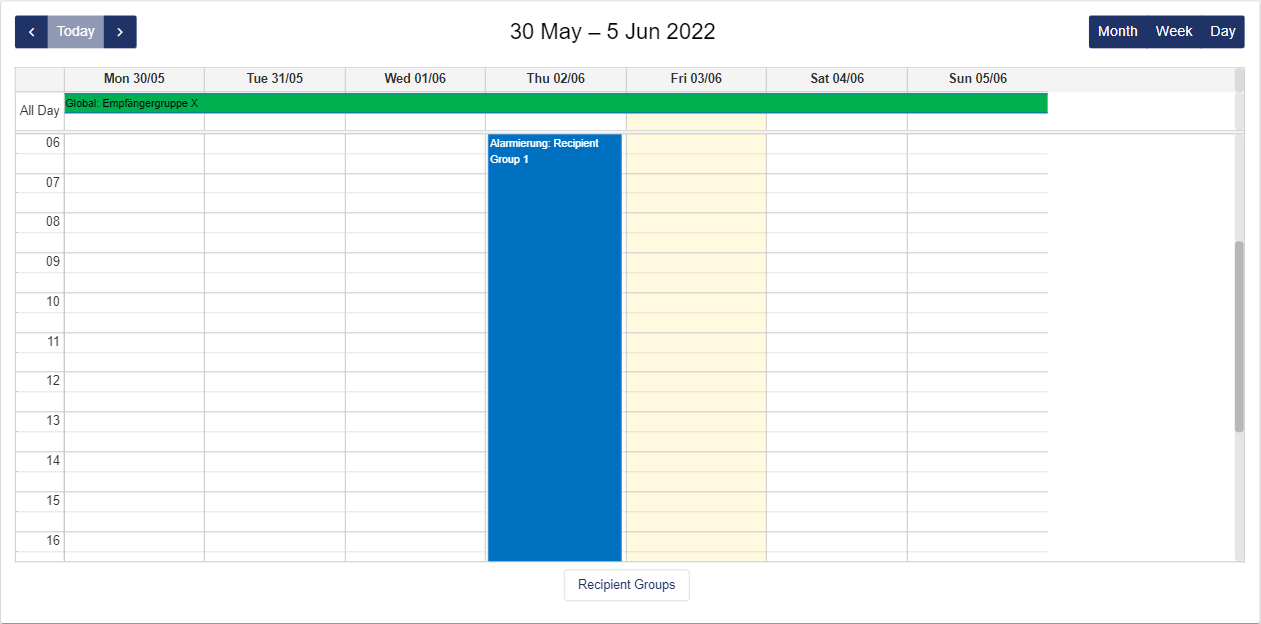
With Alarm Scheduling, you can assign an Alarm Schedule previously created in the configuration to a specific Recipient Group for specific time periods. The calendar view can be displayed in the widget as month, week or day. Here you can view past schedules and plan future ones. A selected Recipient Group can be regularly alerted to specific events using alarm scheduling. As soon as the Event occurs, the group is alerted. By default, the "Global Recipient Group" is selected. The " Global Recipient Group" is continuously alerted should the event occur.
Receiver group regularly alerted; e.g. on 30.06. from 14-16 shift 1 is alerted; on occurrence of event alarm plan alerts receiver group on certain event.
The widget can only be used if the SCADA-Lizenz comprises the module "Strand-by schedule" and "Standard notification" or "Extended notification".
Example:
The sample images show a Global Recipient Group (red) and an individually created "Shift 1" Recipient Group (yellow). Whereas on 06/30/2021 between 2:00 p.m. and 8:00 a.m., the Global Recipient Group and the "Shift 1" Recipient Group are alerted, on 07/01/2021 only the Global Recipient Group is alerted. Alarms for the "Shift 1" Recipient Group were set at specific times only from 06/15/2021-10/06/2021 and from 06/29/2021-30/06/2021.
See also: How do you create an alarm schedule?
|
Month |
Week |
Day |
|---|---|---|
|
|

|
|
|
|
|
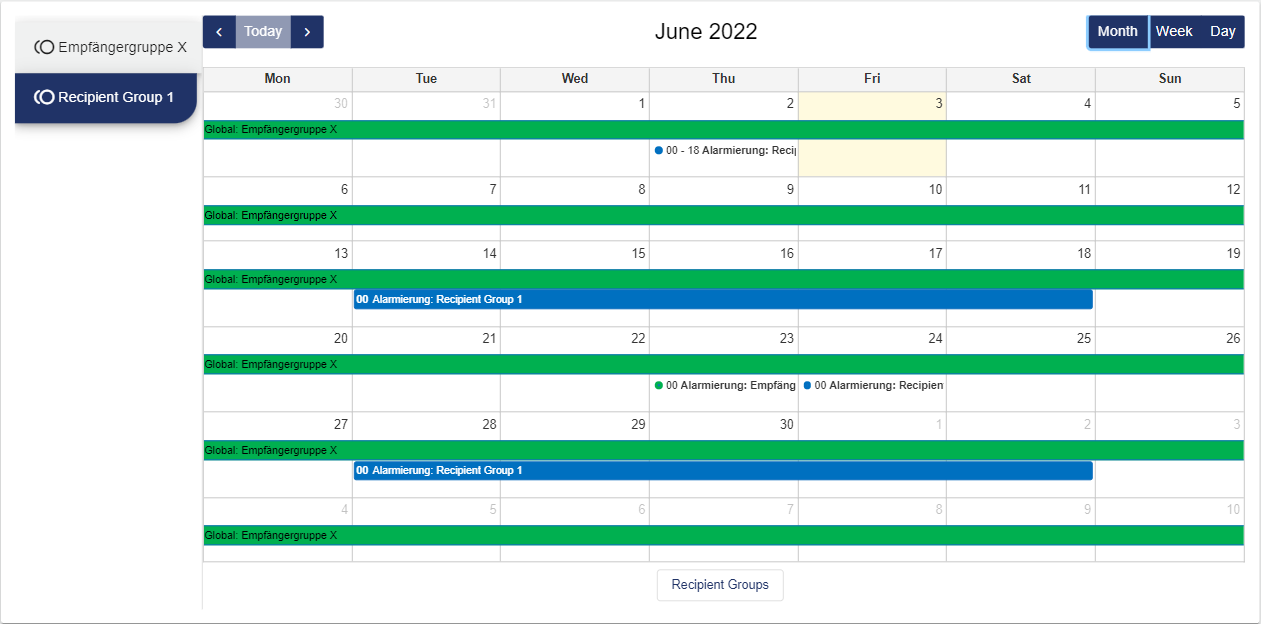
If you want to plan for further standby, you can select the corresponding Recipient Group on the left by clicking the button at the bottom. Then you can click the scheduled start date for the standby.
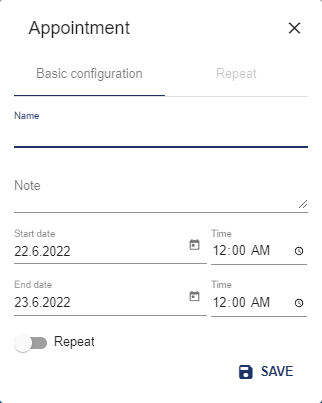
Next, the standby or date is configured in the Basic Configuration. You can schedule with and without repetition.
|
Basic Configuration |
with repetition |
|
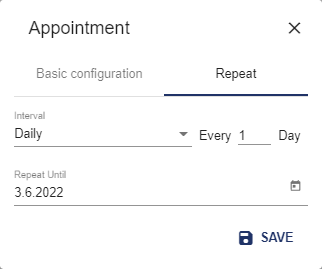
You can configure the interval: Hourly, Daily, Weekly, Monthly or Yearly. |
Configuration
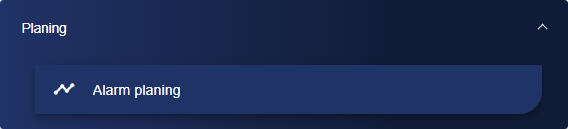
Select the Alarm Scheduling widget from the Planning category.
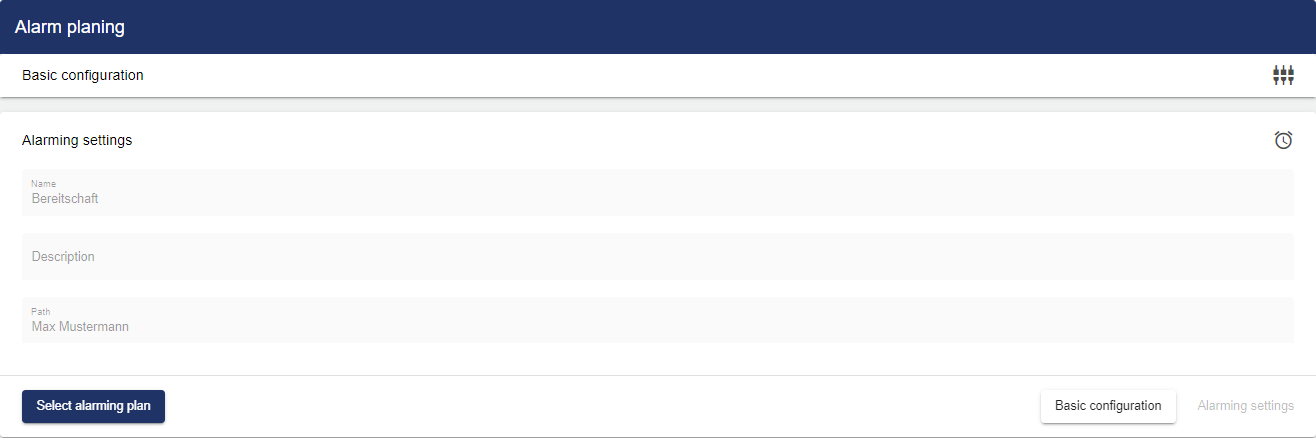
Adjust the Alarm Schedule via the Basic Configuration. First of all, assign a suitable title to your Alarm Schedule here.

Then go to the "Alarm Settings" tab and click "Alarm Schedule".
Clicking the Plus button opens the Entity-Select window. You can add a previously created alarm schedule here.
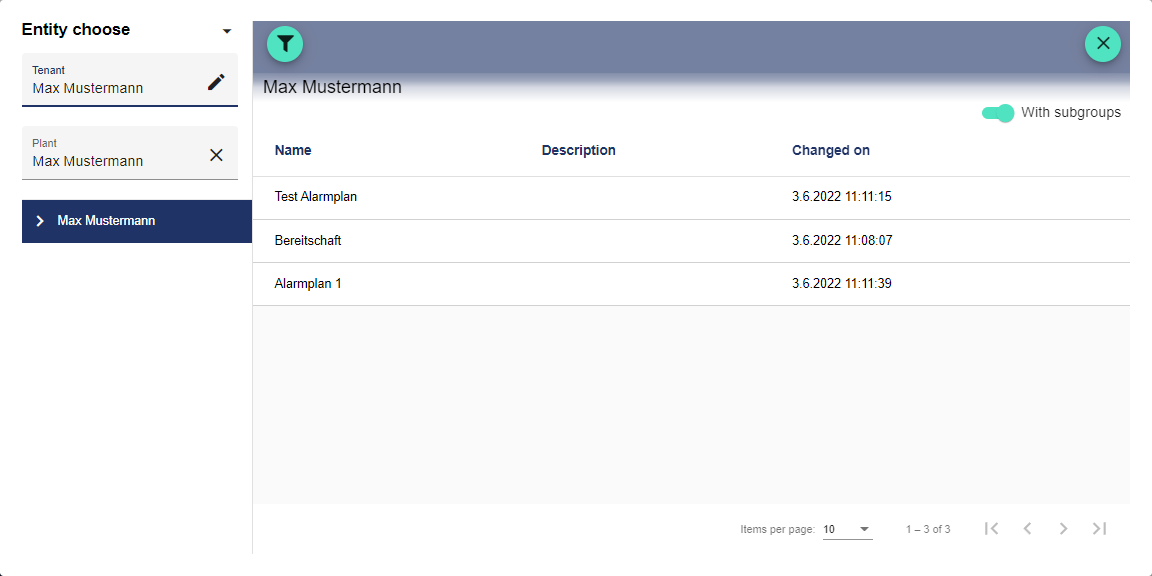
Once you are satisfied with your configuration, you can save it.