Use
The Event Pathway Map can be used to display and analyze the movement history of objects on the map. In addition, signal values can be recorded event-based at event start S and event end E. This event history can be highlighted in color on the map. This allows, for example, the sequence of bilge water disposal or other dumping operations per ship to be seamlessly mapped and verified. Past processes and events can be viewed via the integrated time control.
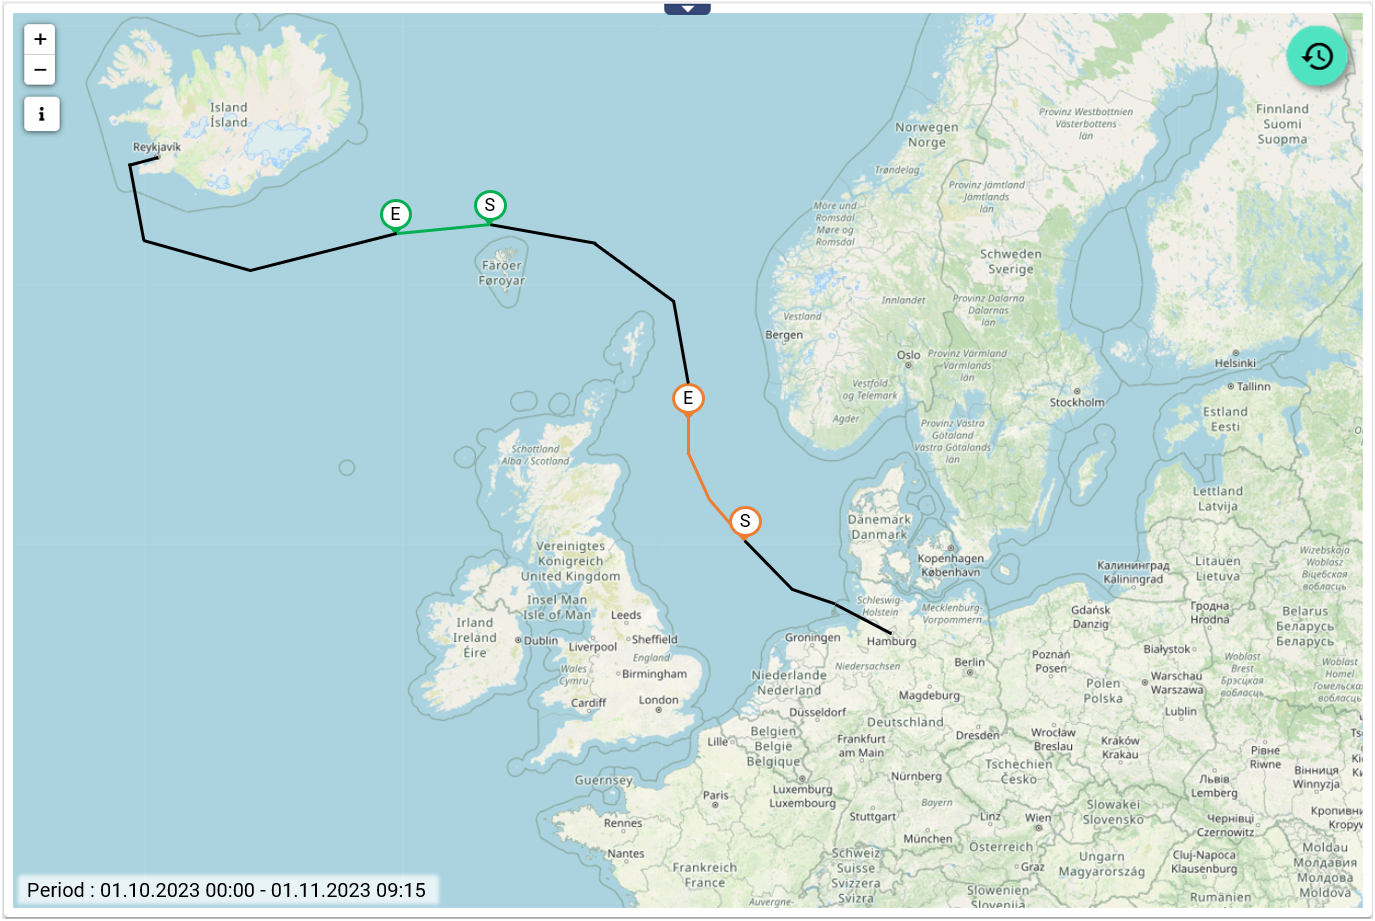
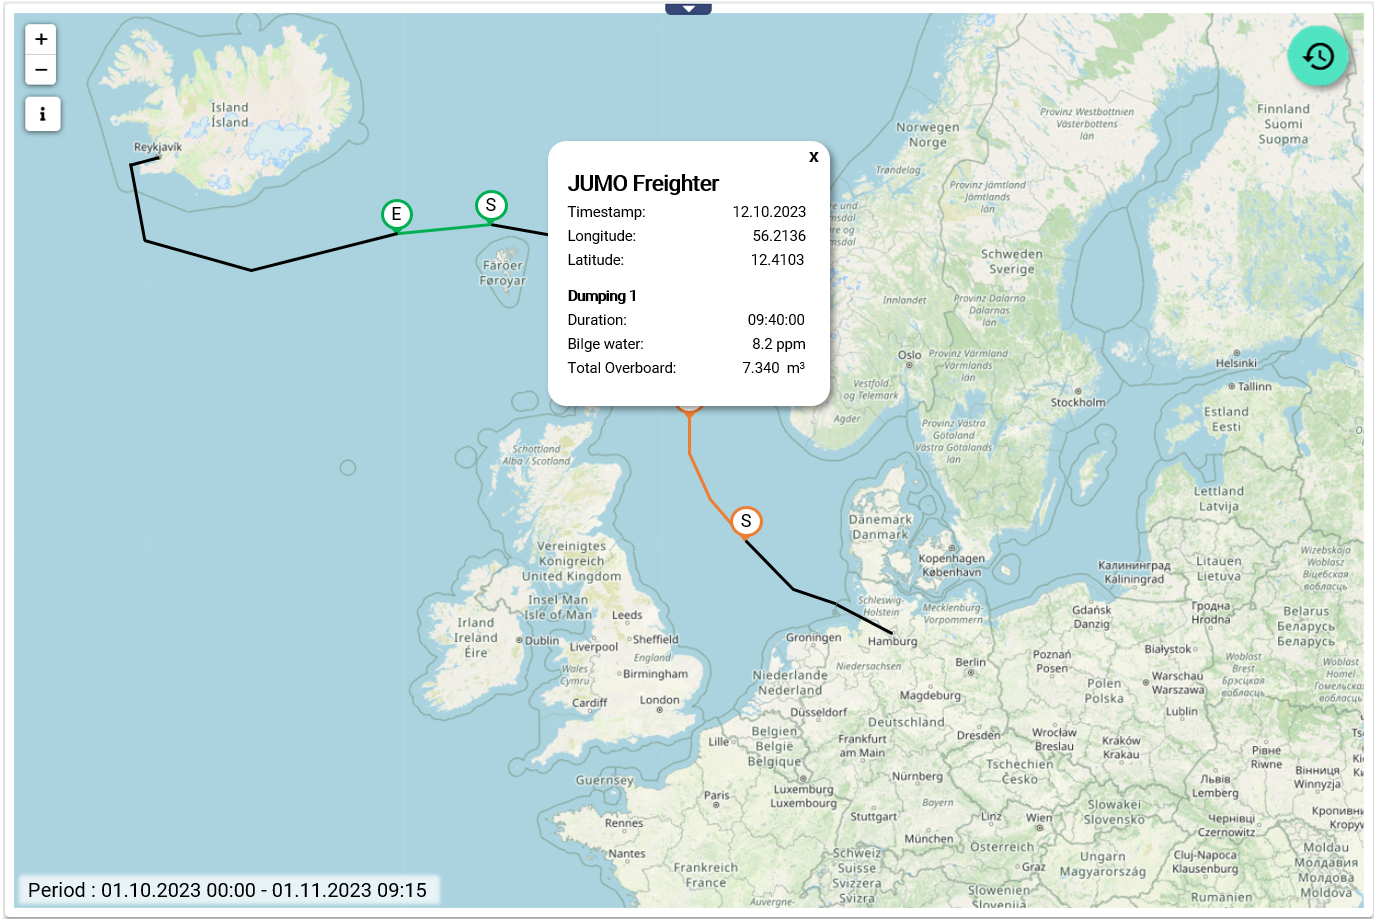
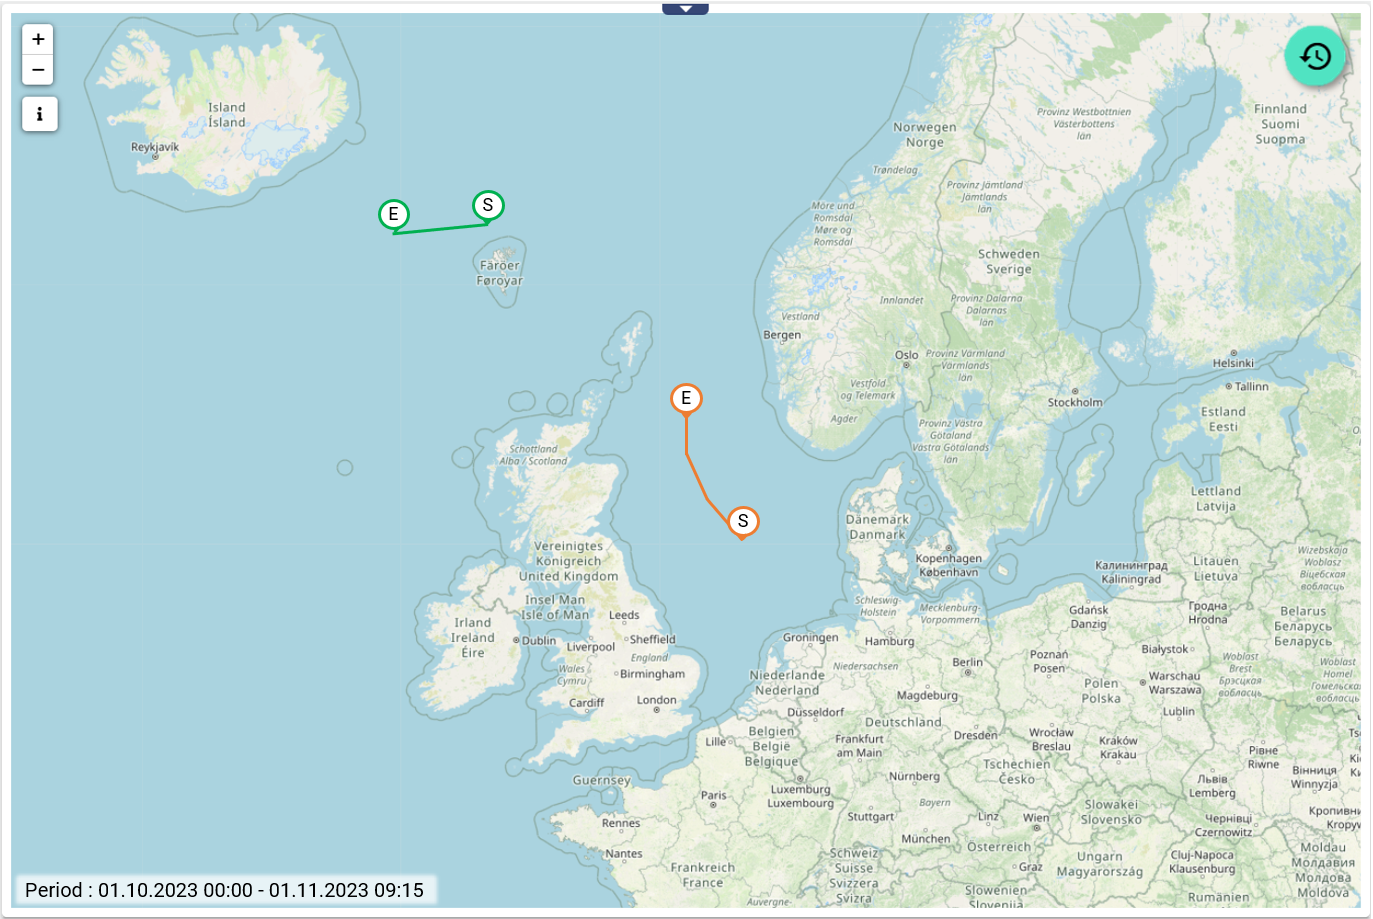
Configuration
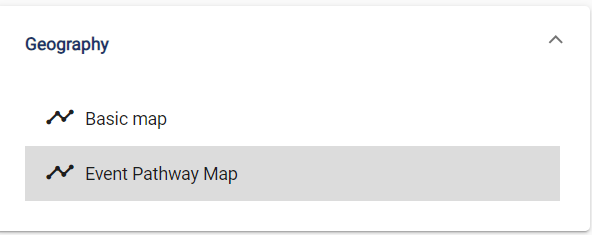
Select the map widget from the "Geography" category.
Basic configuration
Assign a suitable title in the basic configuration of the map. By selecting the checkbox, the header of the widget can remain permanently displayed.

Data selection
Now select the object to be monitored and its latitude and longitude signal.
The coordinates must be entered in decimal notation. The following is an example.
-
Decimal degree of Berlin (Victory Column): Lat 52.514487, Long 13.350126
The accuracy of this information is highly dependent on the number of decimal places.With only 2 decimal places there is a possible deviation of up to 1 km, with 4 decimal places there is only a deviation of 10 meters. If 6 decimal places are used, this corresponds to an accuracy of 1 meter.
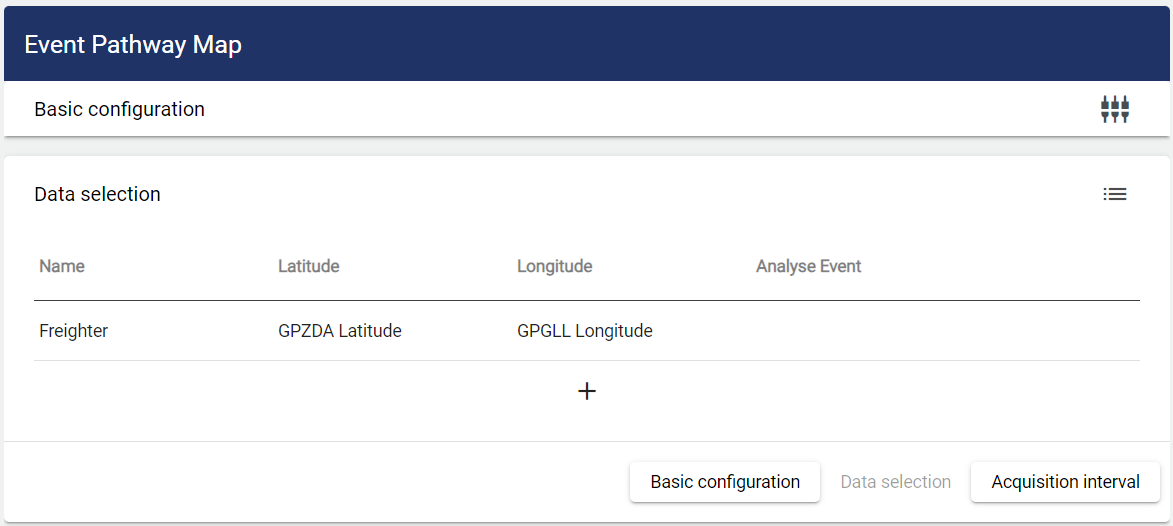
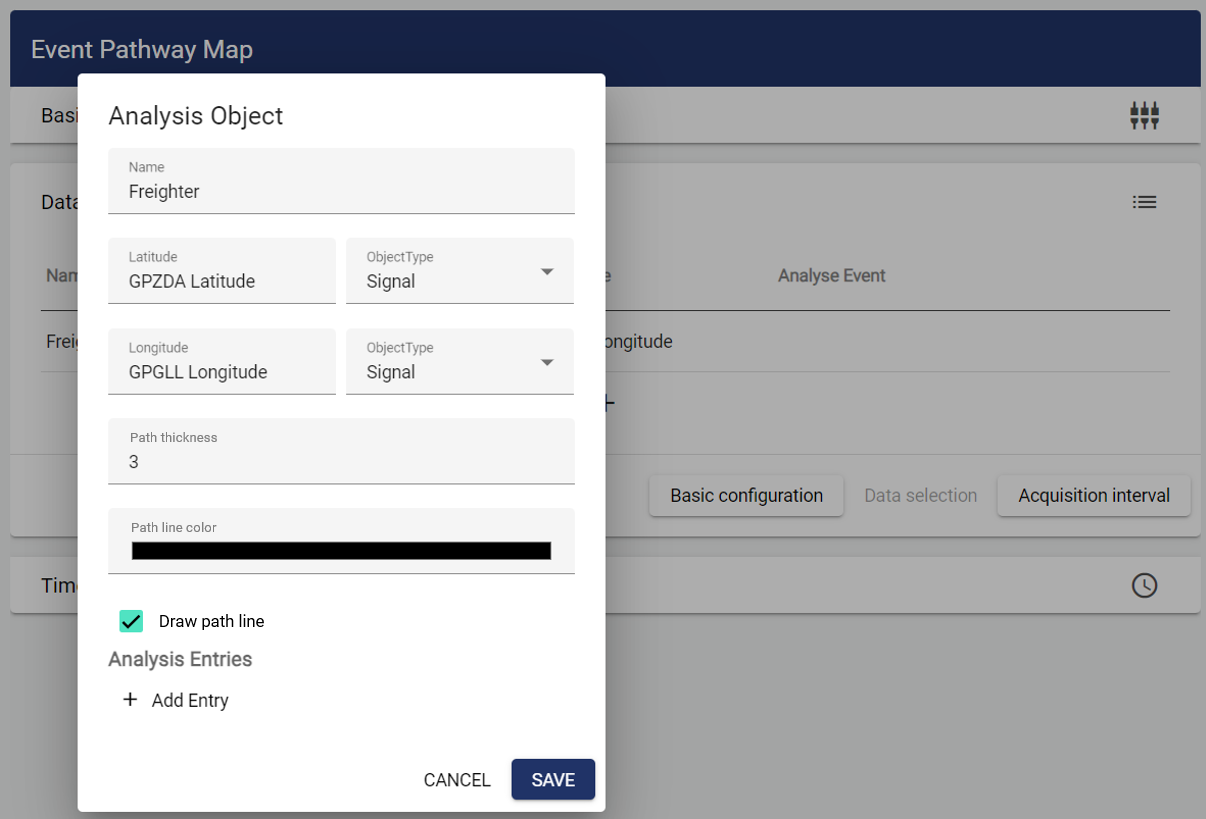
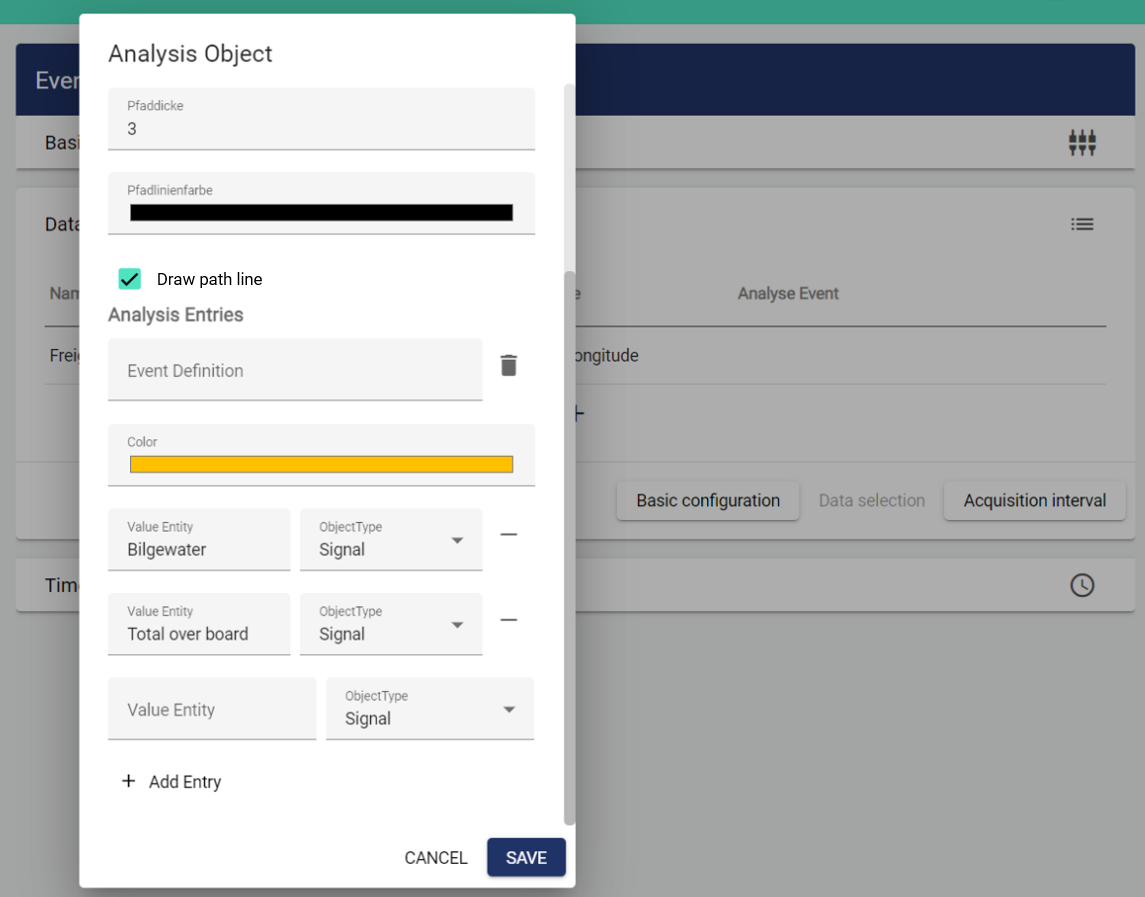
Signal values can then be recorded on an event basis at event start S and event end E. This event history can also be highlighted in color on the map. To do this, select a suitable event and enter the signals to be monitored.
Optionally, the history of the object to be monitored can be hidden. Only the event-based paths are then displayed. The Draw path line checkbox can be deselected for this purpose.
Several event histories can also be recorded for each object.
Time management
You can now specify the interval of the data to be displayed. The smallest possible time unit is 1 day.
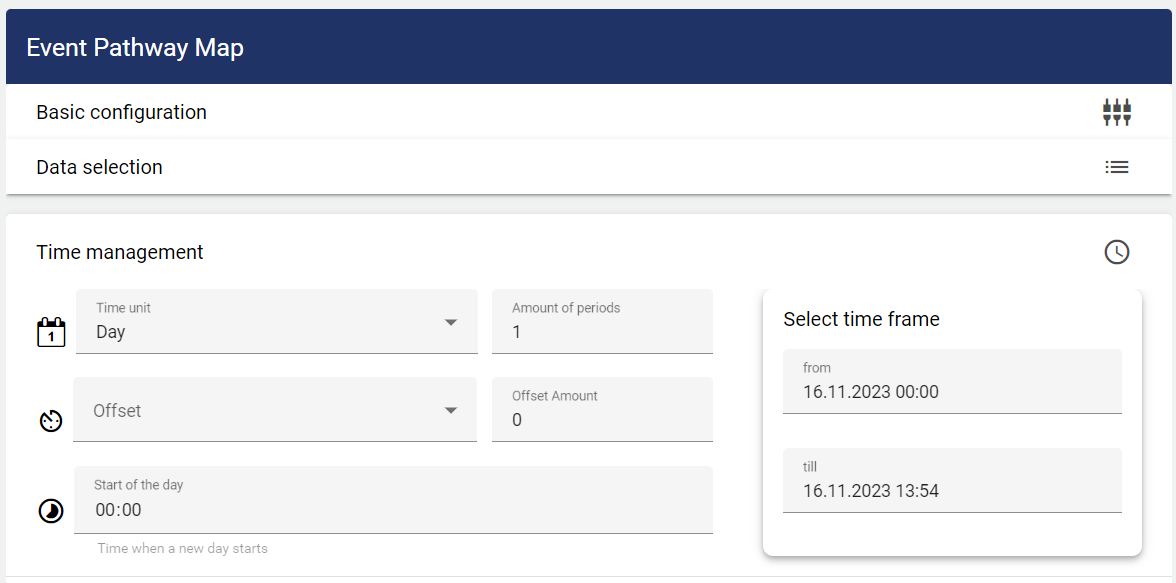
Specify the time span of the display.
To display the data for one or more days, set the time frame to Day, the period number determines how many days in the past should be displayed. The same applies to any other time frame setting (week, month, quarter, year)!
You must specify when the recording should start and after what duration it should end. The day of the week and the time are also specified.
|
|
Basic setting for the length of the interval. |
|
|
Offset. This setting can be used to define an offset for the time frame. Both in the past and in the future. |
|
|
This setting can be used to define the start of the day individually. |


