Triggers an event at a specific time.
-
By selecting the "Time-based Trigger" button, you can edit a Trigger that was created earlier. A new Trigger is created via the Plus button.
-
In the Basic Configuration of the Time-based Trigger, assign a suitable title. The Description field is optional. The "Group" field shows the Client in which this Trigger was created. The path is generated automatically by the system.

-
The Event Category is activated or deactivated via the "Activated" checkbox.
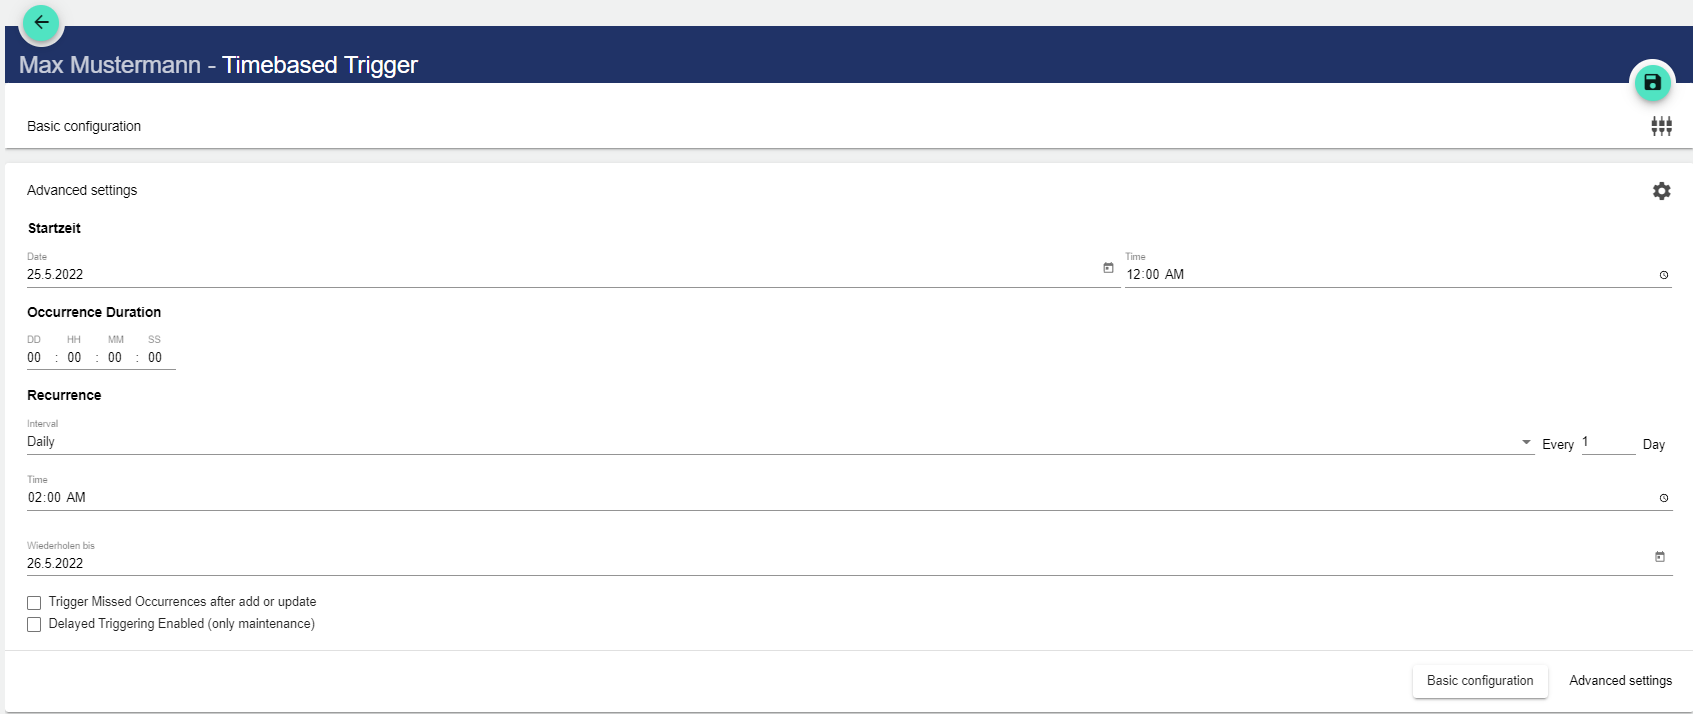
Advanced Settings
This is where you set the time-based trigger. A time and date is specified as the start time. You can also specify the duration of the event. In the second section, you can then schedule regular repetition. An interval at which the event is to be triggered and a timer are specified here. In the "Repeat until" field, a date is specified until which the repetition is valid and active. In addition, the options "Trigger missed events after add or update" and "Delayed triggering enabled (for maintenance)" can be activated as needed.