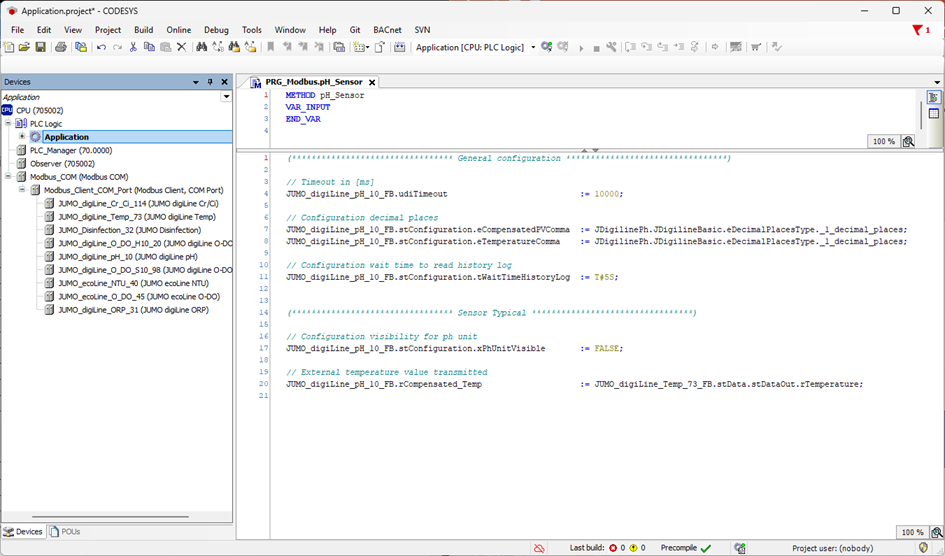
General configuration
|
Timeout |
If the default value (10000 ms) is too low or too high (depending on the number of devices at the interface), it can be modified. |
|
Decimal place |
The decimal place for the values shown in the Visu object can be changed here. |
|
WaitTimeHistoryLog |
If the default value (8 s) is too low or too high (depending on the number of devices at the interface), it can be modified. |
Device-specific configuration and parameterization
|
PhUnitVisible |
Since the pH value does not have a physical unit, it is up to the customer whether the unit is visible. |
|
Compensated-Temp |
This can be used to assign a temperature value to the device. The sensor must be configured accordingly using the DSM software. |
Calibration
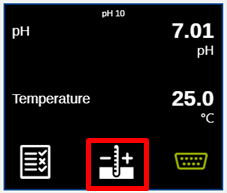
Press the button to start calibration.
The calibration procedure must be selected first.
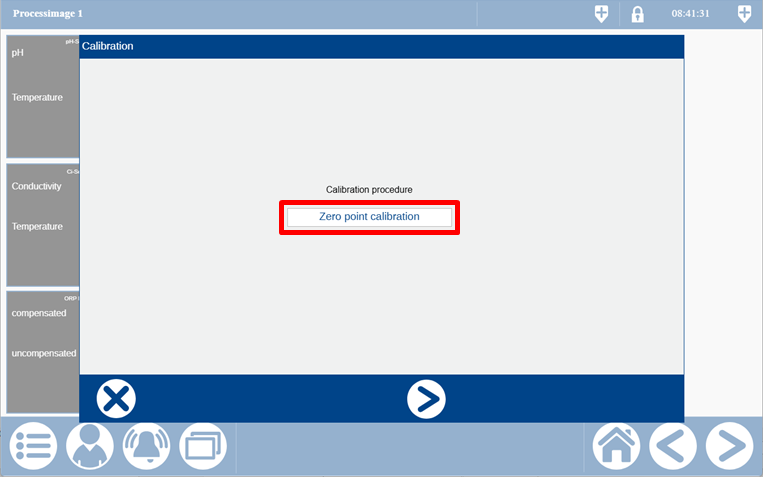
Zero point and two-point calibration can be selected here.
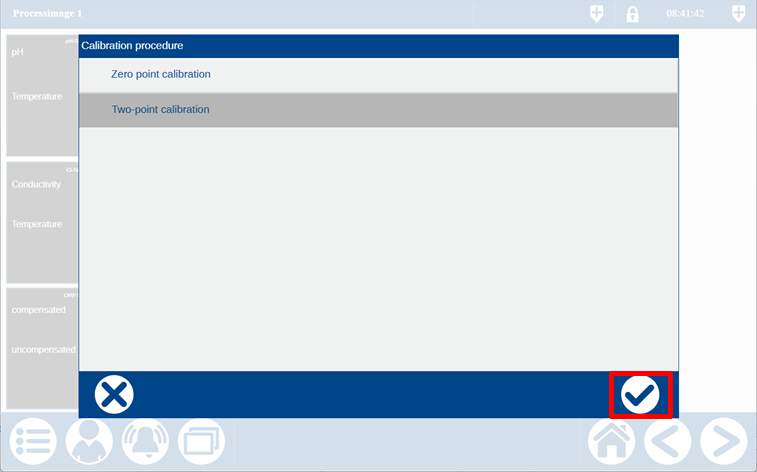
When you have selected the calibration type, you can move onto the next step.
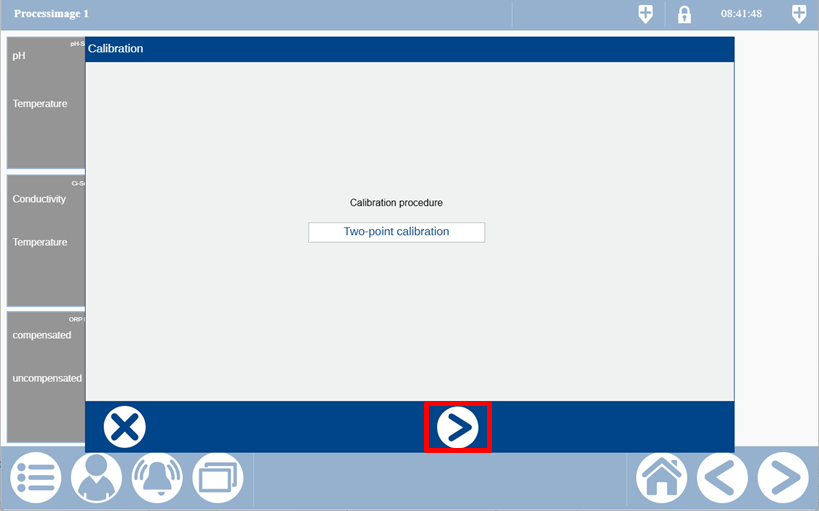
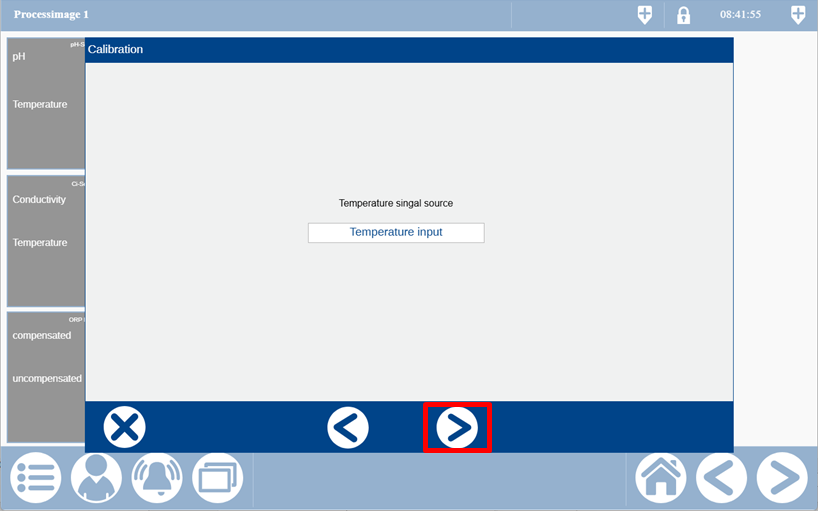
The signal source must now be selected for the temperature here.
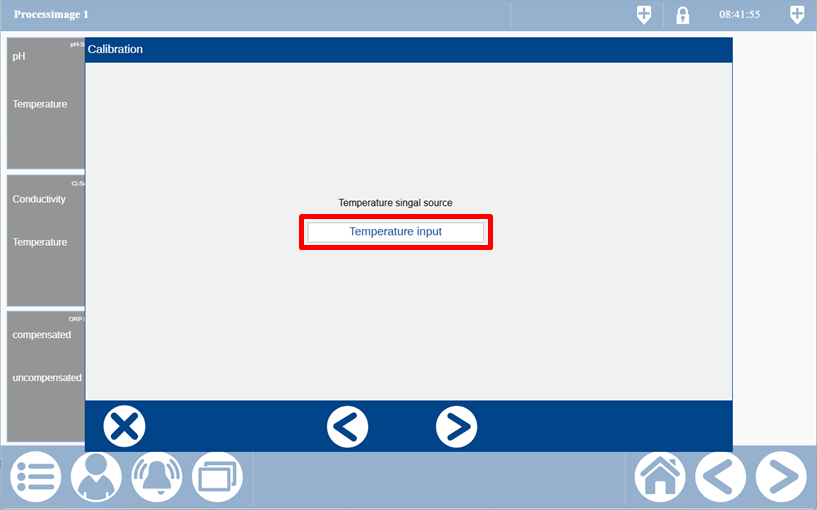
Temperature input (sensor signal) or keyboard entry can be selected here.
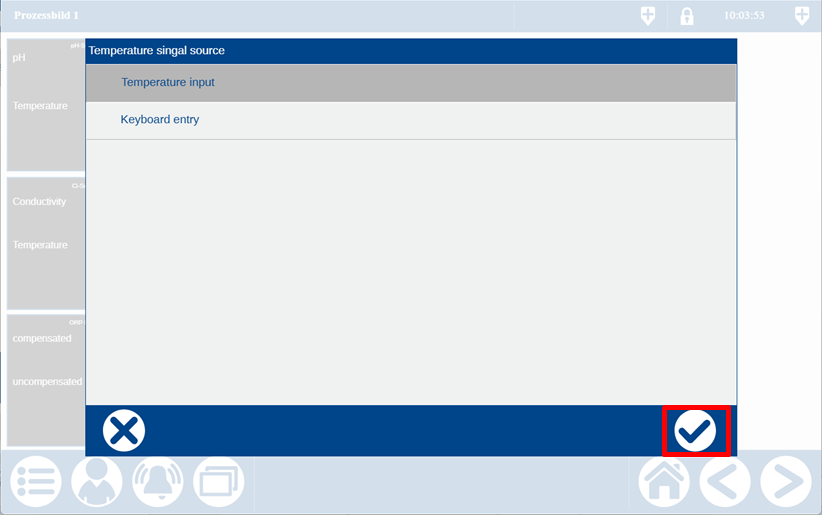
If the temperature input is selected as the signal source, only the internal temperature probe in the electrode is used. If the electrode does not have a temperature probe, the calibration is acknowledged with an error message.
If you have defined the temperature source, you can skip to the next step.
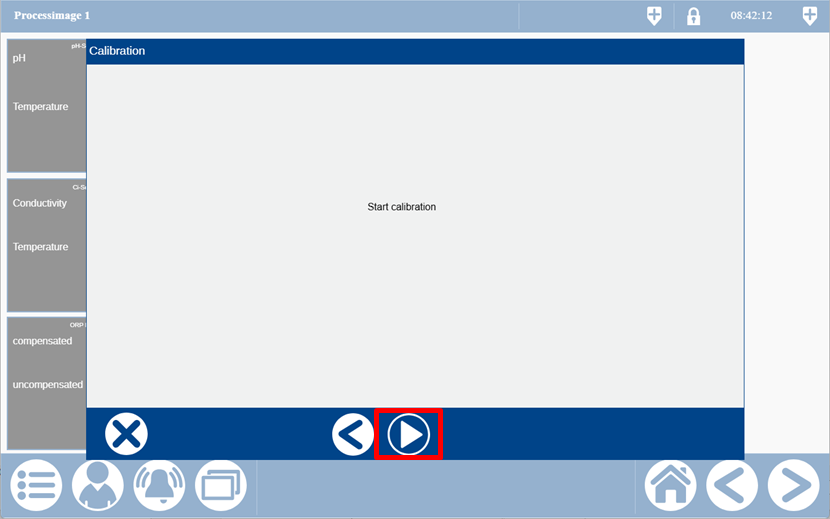
The calibration routine can now be started.
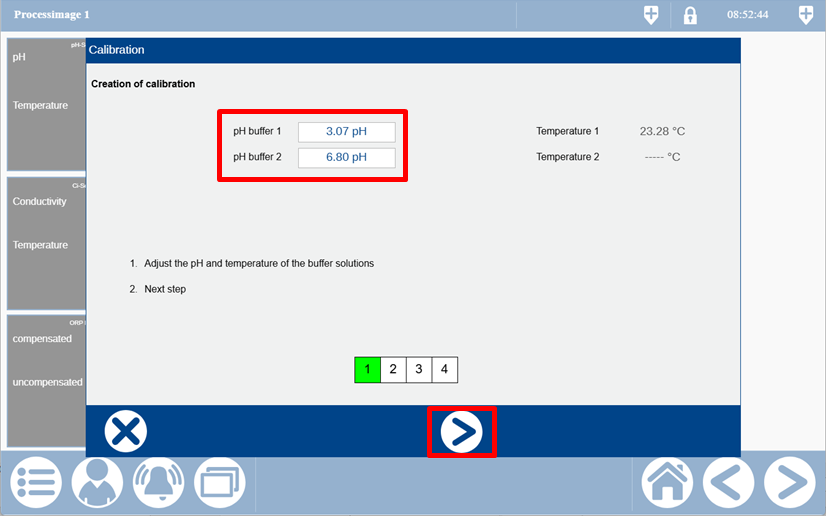
During the two-point calibration, the pH values for the two buffer solutions must now be input here and you must skip to the next step.
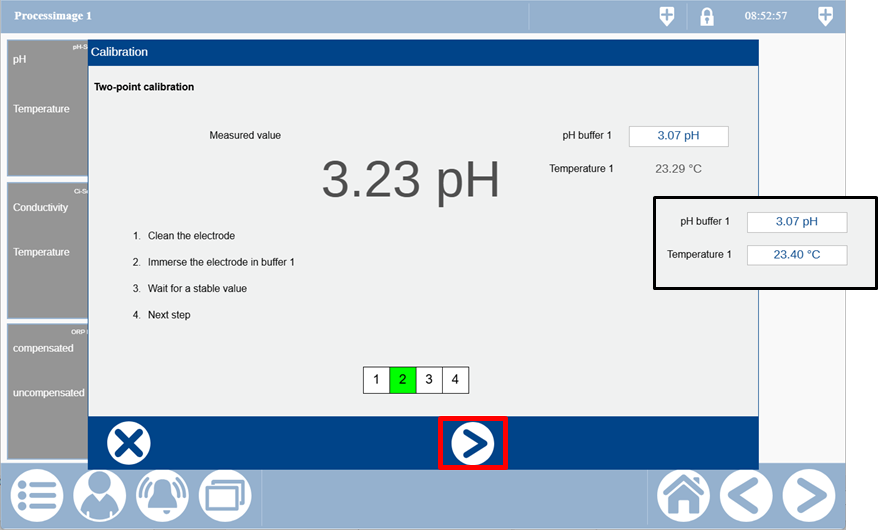
The electrode first has to be cleaned here, then immersed into buffer solution 1. Only when the displayed value is stable can you skip to the next step. If keyboard entry is selected, the value for the temperature can also be edited.
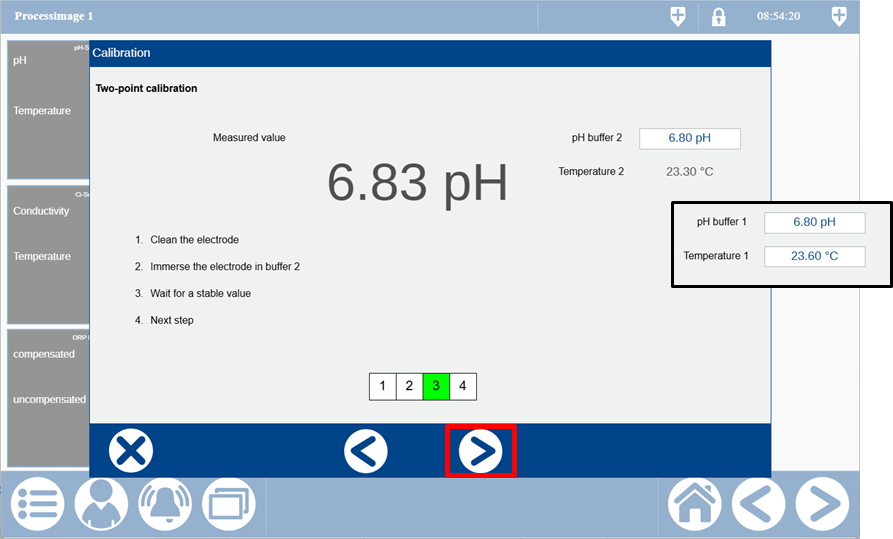
The electrode has to be cleaned again here, then immersed into buffer solution 2. Only when the displayed value is stable can you skip to the next step. If keyboard entry is selected, the value for the temperature can also be edited.
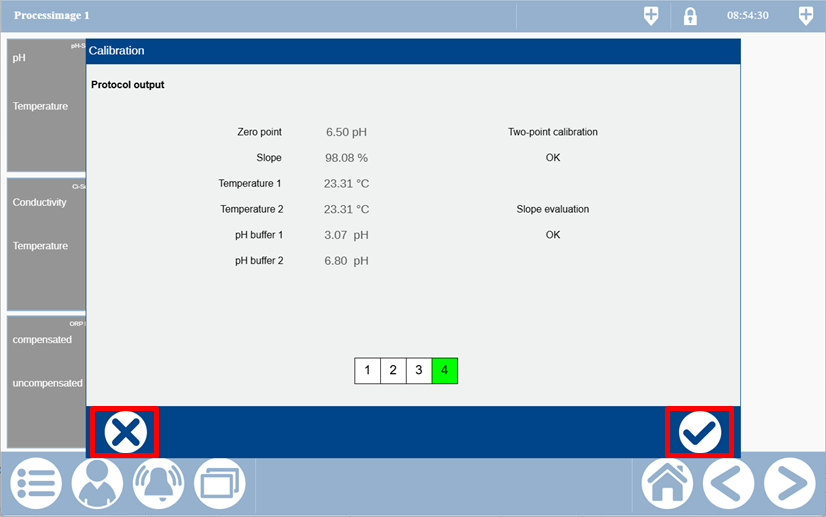
In the last step there is an overview of the acquired values and whether the calibration has been performed successfully. The calibration can now be adopted or rejected via the buttons.