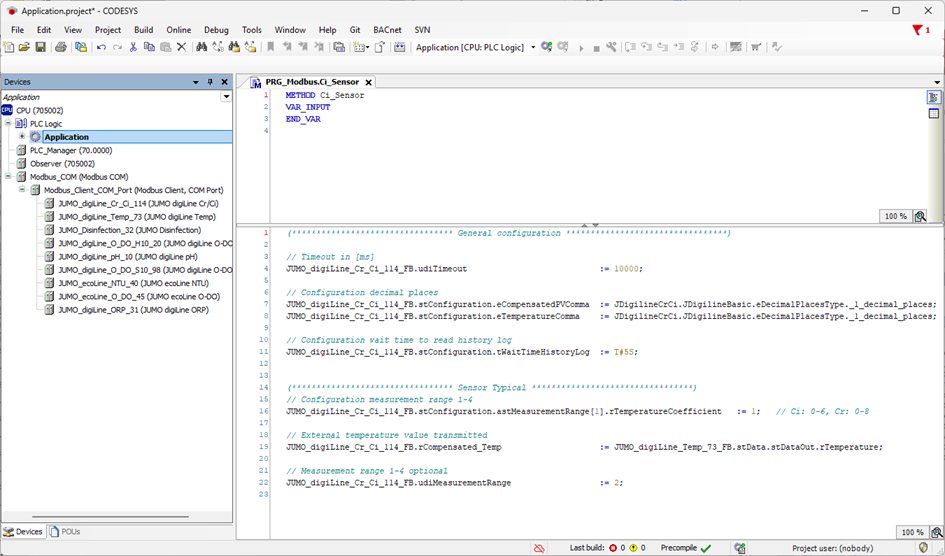
General configuration
|
Timeout |
If the default value (10000 ms) is too low or too high (depending on the number of devices at the interface), it can be modified. |
|
Decimal place |
The decimal place for the values shown in the Visu object can be changed here. |
|
WaitTimeHistoryLog |
If the default value (8 s) is too low or too high (depending on the number of devices at the interface), it can be modified. |
Device-specific configuration and parameterization
|
TemperatureCoefficent |
The coefficient value can be modified for each individual measuring range [1-4]. Values from 0 to 6 can be defined for the Ci sensor type and 0 to 8 for the Cr sensor type. |
|
Compensated-Temp |
This can be used to assign a temperature value to the device. The sensor must be configured accordingly using the DSM software. |
|
MeasurementRange |
This can be used to switch between the four measuring ranges (display in the Visu object). |
Calibration
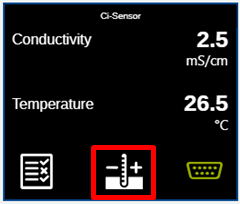
Press the button to start calibration.
Since the Cr/Ci sensor can only carry out one calibration procedure (relative cell constant), you can skip to the next step right away.
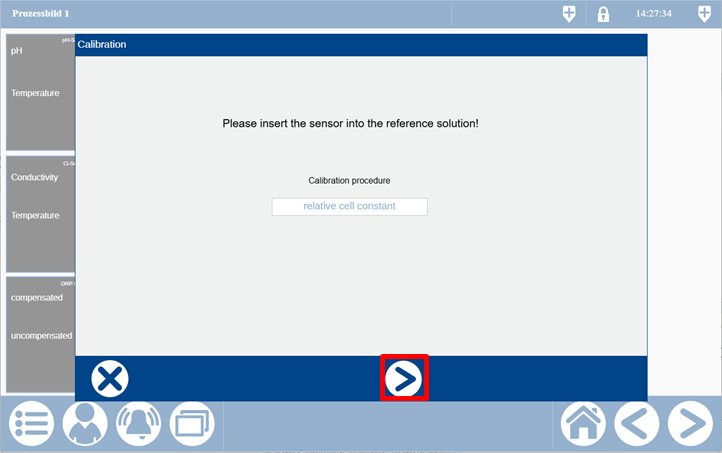
The parameter block must be selected first.
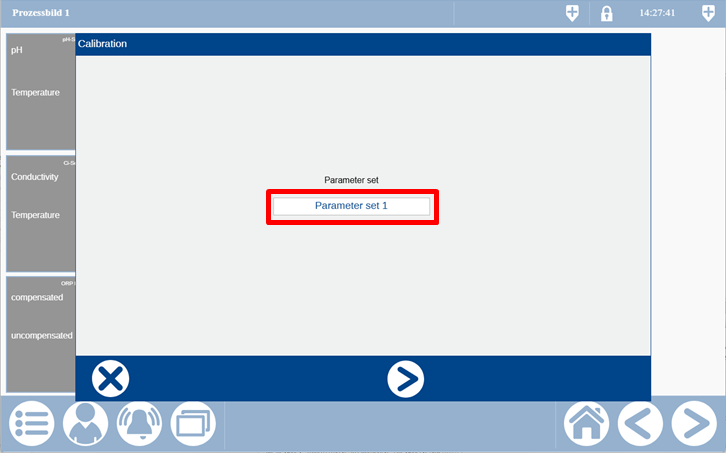
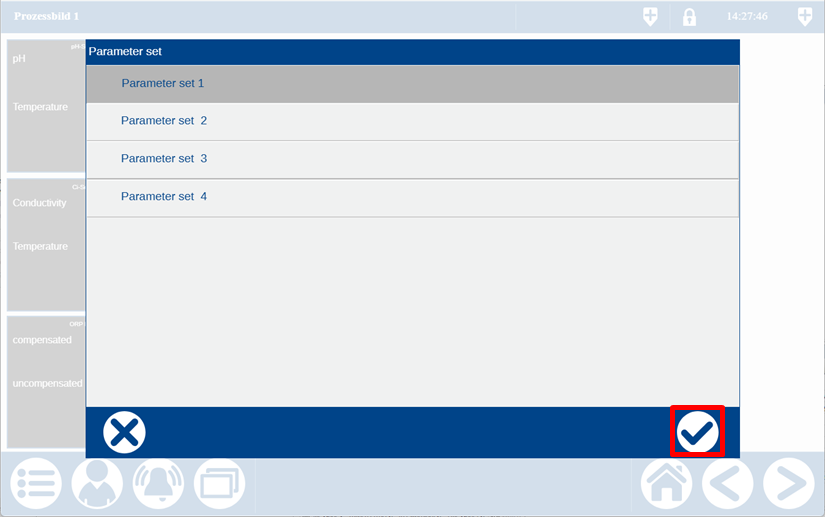
Four parameter blocks are available for selection.
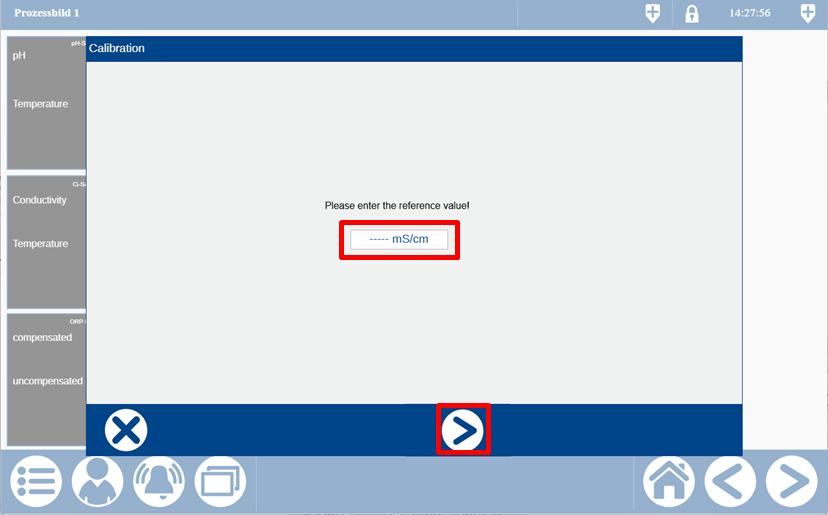
The reference value must then be input. You can only skip to the next step once a valid value has been input.
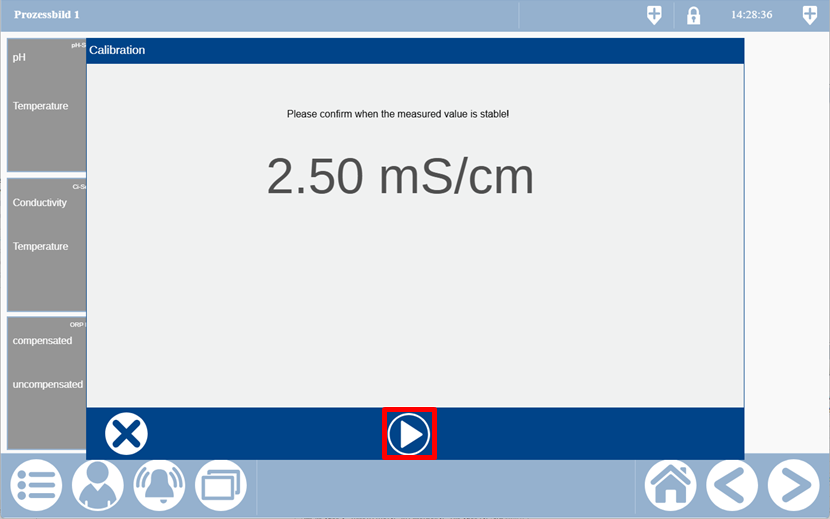
Only when the displayed value is stable can you skip to the next step.
The sensor needs a moment to process the calibration data internally.
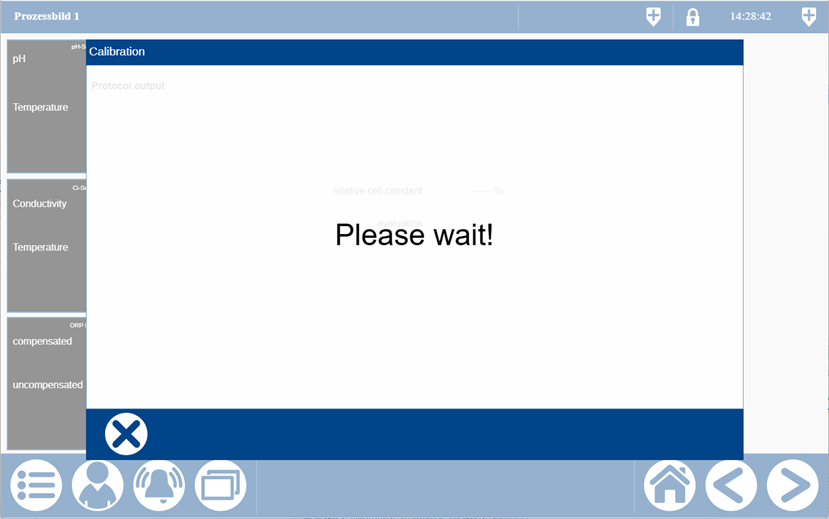
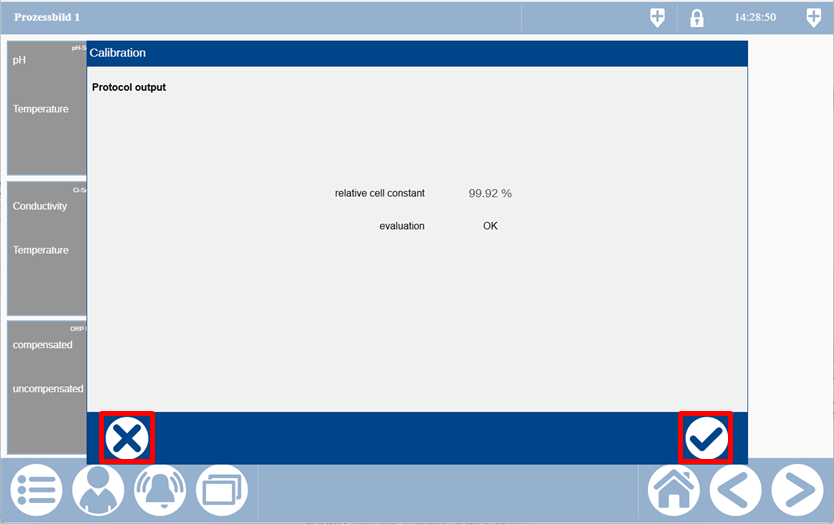
The result is displayed when processing is complete. The calibration can now be adopted or rejected via the buttons.