
Use
The Setpoint Table is used to compare an analog or digital input "value" ("name" and actual value of the signal) with an analog or digital output "setpoint". The name of the setpoint signal is not listed here. By clicking the corresponding setpoint, it can be set in the Dashboard. The Setpoint Table can be divided into several groups.
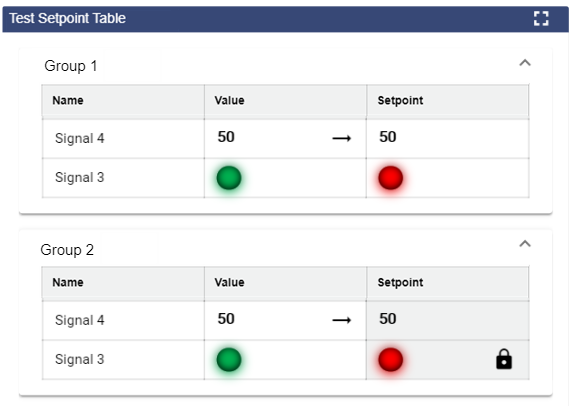
If the setpoint is reset, the trend of the following actual value can be observed by means of a green or red arrow.

Configuration
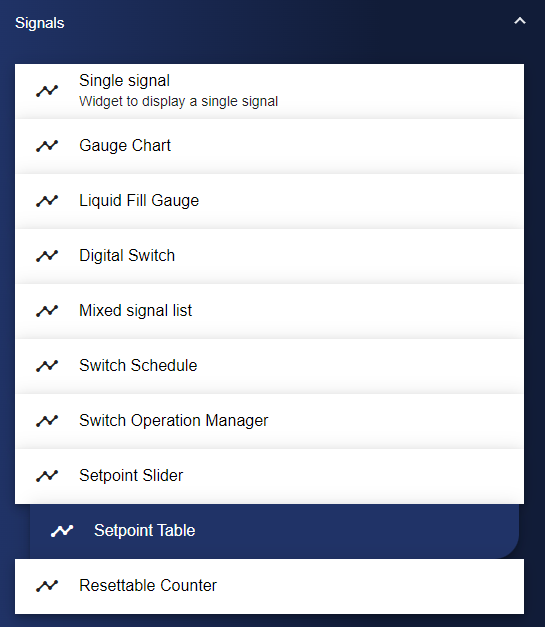
First of all, select the Setpoint Table widget from the Signals category.
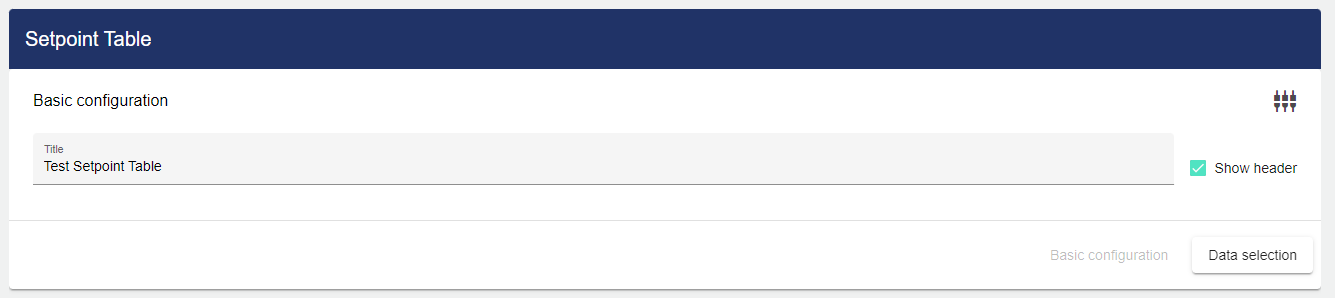
In the Basic Configuration of the Setpoint Table, assign a suitable label (title). The header can be displayed by selecting the check box.
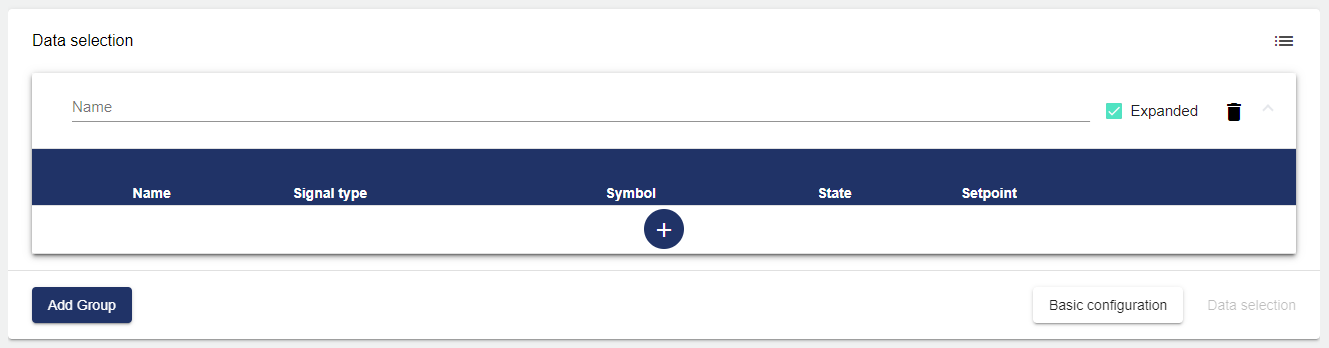
Then go to the "Data Selection" tab and click "Add Group".
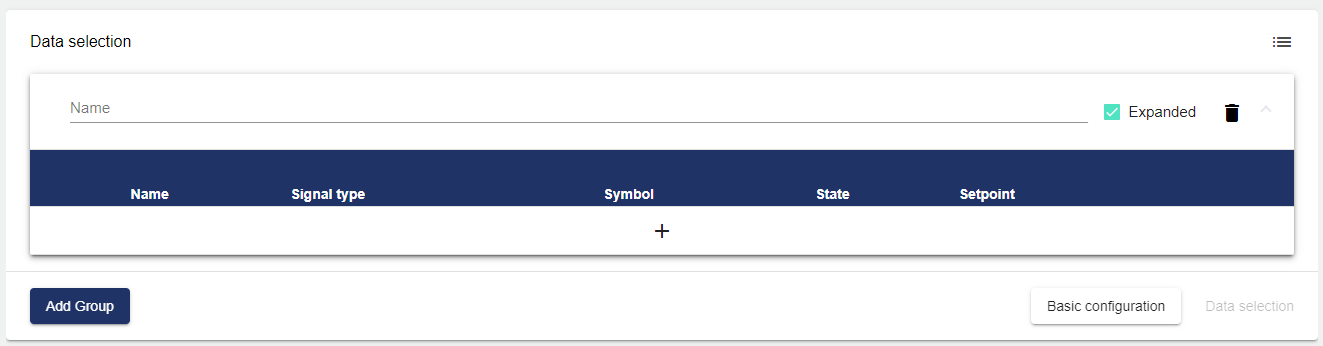
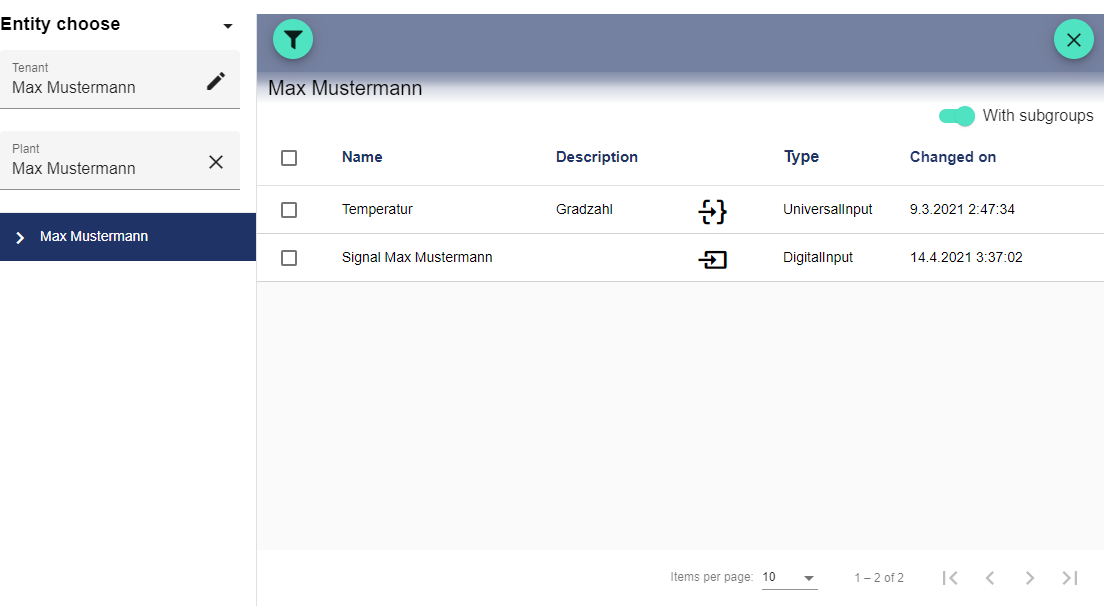
Clicking the Plus button opens the Select Entity window. You can add a previously created signal here.
The setpoint signal can be changed using the following three settings in the Dashboard:

|
Disabled |
Enabled |
Locked |
|---|---|---|

|

|

|
|
The setpoint cannot be changed in the Dashboard. |
The setpoint can be changed in the Dashboard by re-entering it. |
The setpoint can only be changed by clicking the lock icon followed by a new entry. The lock prevents the setpoint from being re-entered accidentally. |
Once you are satisfied with your configuration, you can save it.