
Use
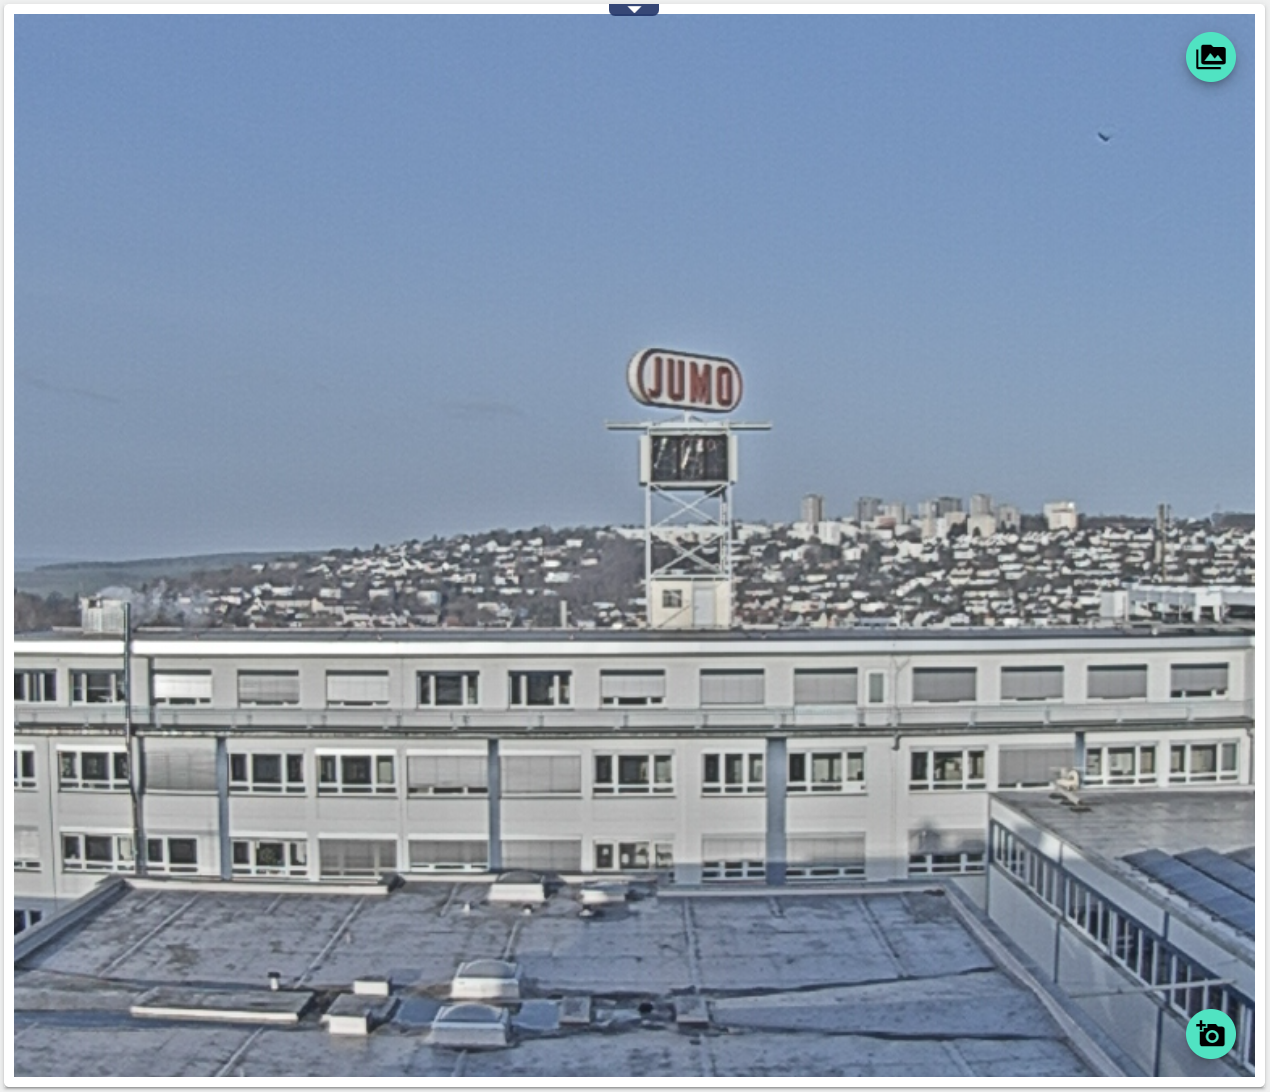
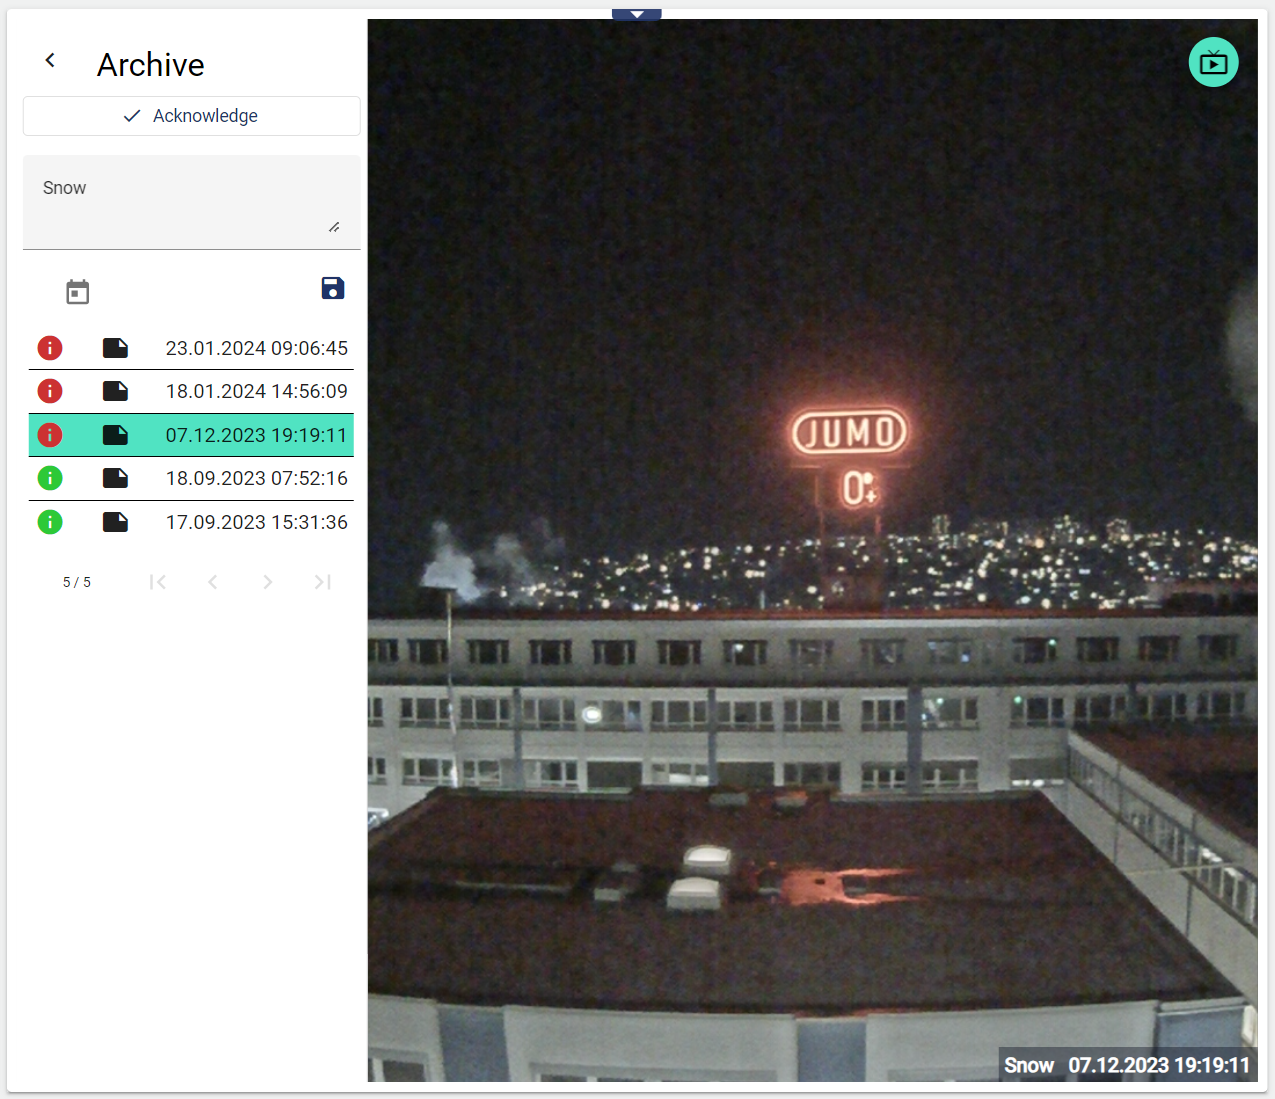
Using the Camera widget, it is possible to receive the live image of a connected IP camera as well as create archive images and view them in the archive. You can switch between live mode and archive mode using the icon at the top right of the widget. In live mode, the camera button at the bottom can be used to take a screenshot, which is then moved to the archive. The date, time and user are stored and displayed for each screenshot. Optionally, the screenshot can be confirmed using the "i symbol". As soon as confirmation has been given, the circle is displayed in green. If the circle is red, the image is not confirmed. A note can also be added to the screenshot. If a note has been saved, this is indicated by the black document symbol. Click on the line to open a text field in which notes can be saved. The calendar icon can be used to call up and view past archive images. All images are still displayed, only the position on the pages changes.
|
Widget starts in live mode |
Widget starts in the archive |
|---|---|
|
|
Configuration
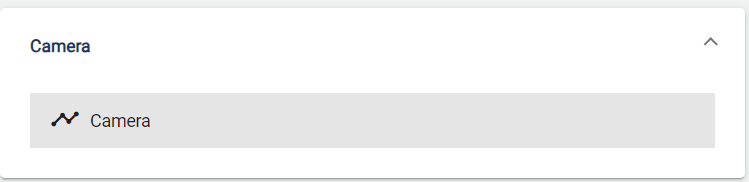
Select the Camera widget from the Camera category.
Assign a suitable title in the basic configuration. The header can be displayed by selecting the checkbox.
The camera widget can start by default either in live mode or in archive mode.
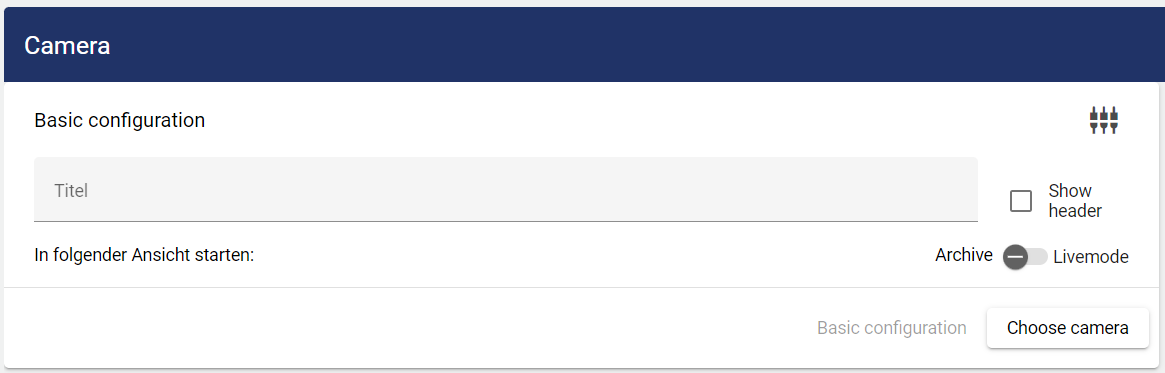
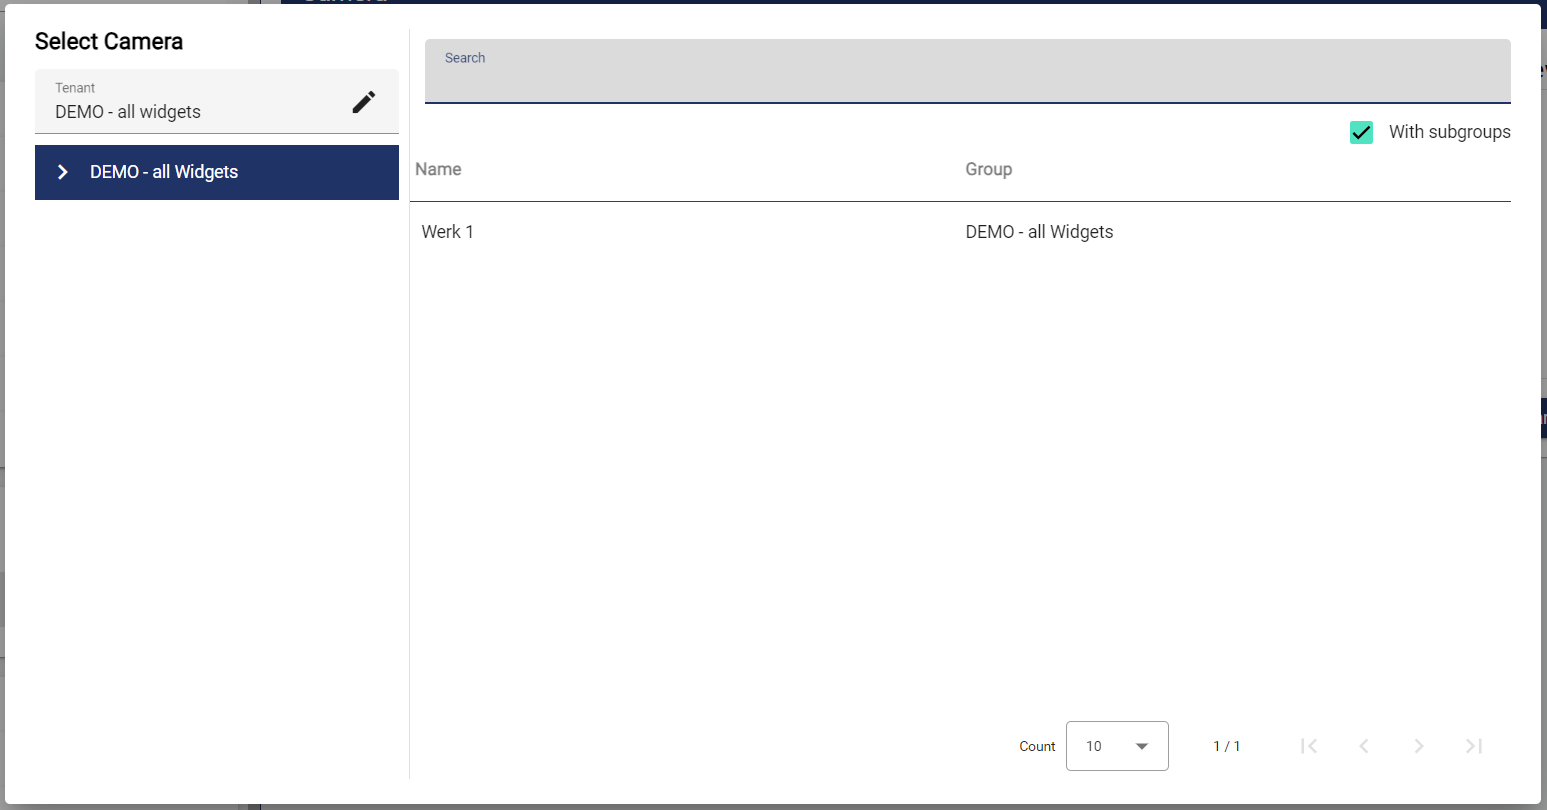
Then go to the " Choose camera" tab.
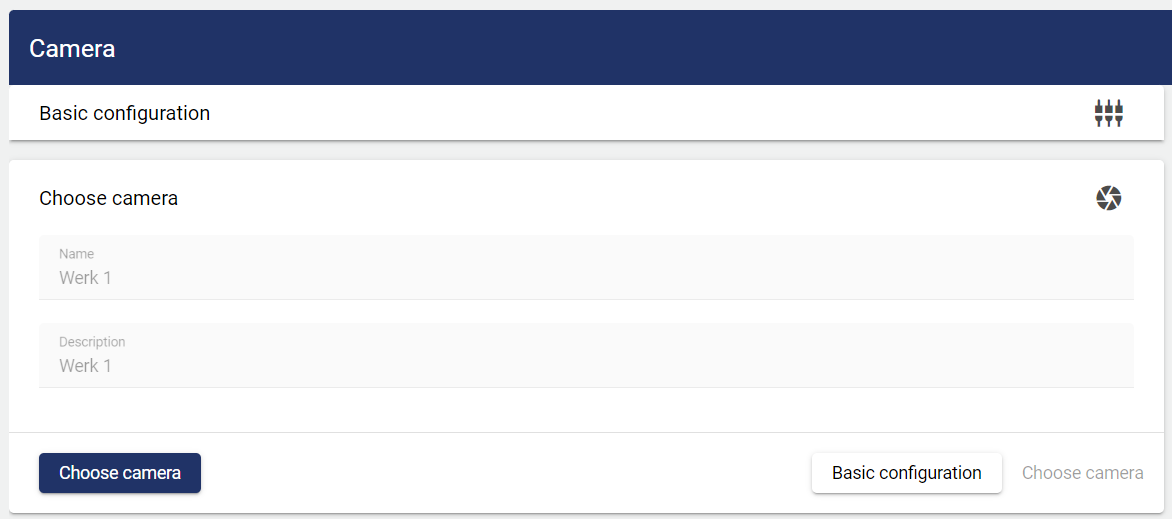
In this area, use the entity select to choose the camera previously created in the configuration.
Once you are happy with your configuration, you can save it.