First, you can download the CODESYS Installer (≥ 2.5.0.0) via the following link:
https://store.codesys.com/en/codesys-installer.html
The installer is free of charge; you only need to sign in with your customer account or alternatively create a new customer account. Afterward, it is necessary to accept the CODESYS EULA (End User License Agreement). Then the CODESYS Installer can be downloaded and used.
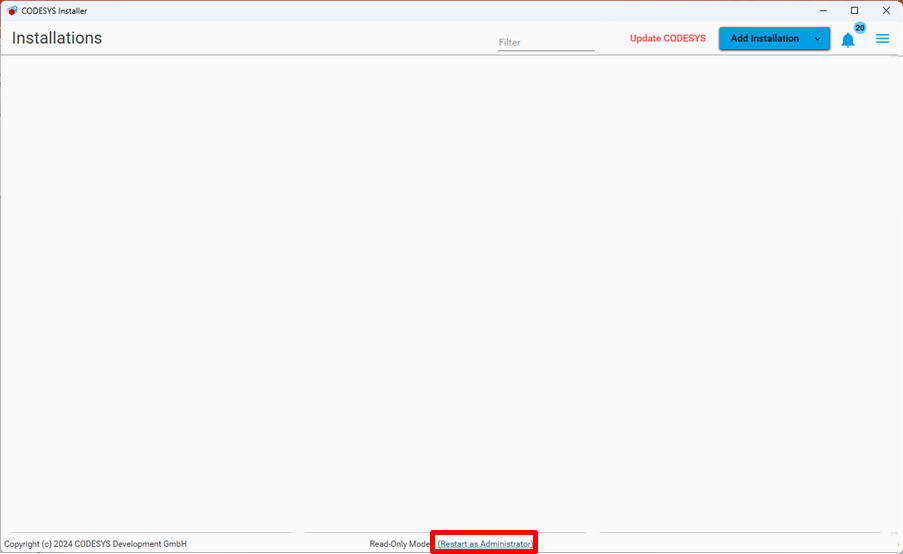
Administrator rights are required for the following steps. If the installer is not running with the necessary rights, it can be restarted using the Restart as Administrator button at the bottom.
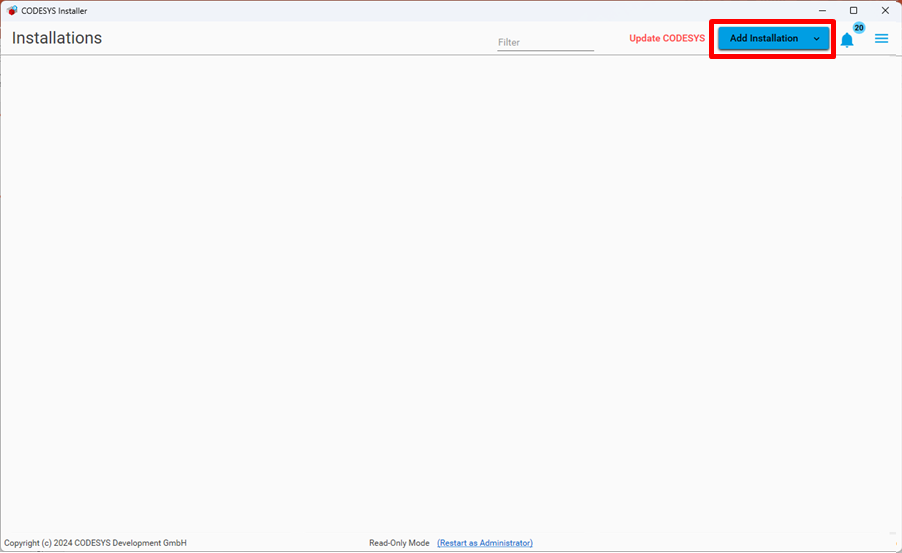
Select Add Installation to start the installation process.
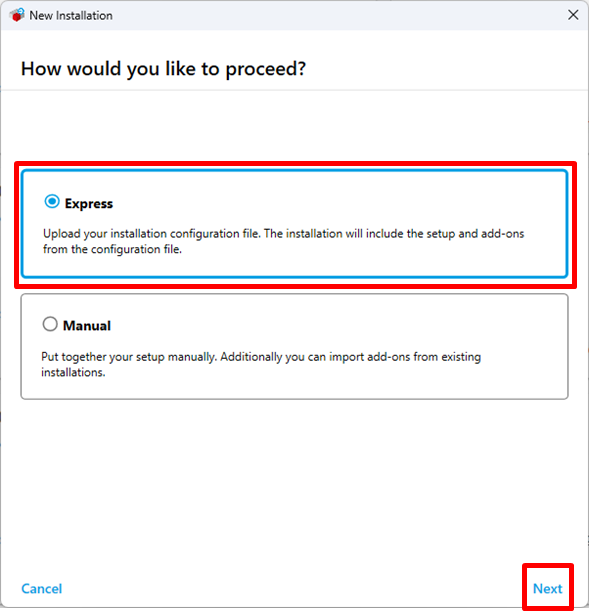
Select Express and continue with Next.
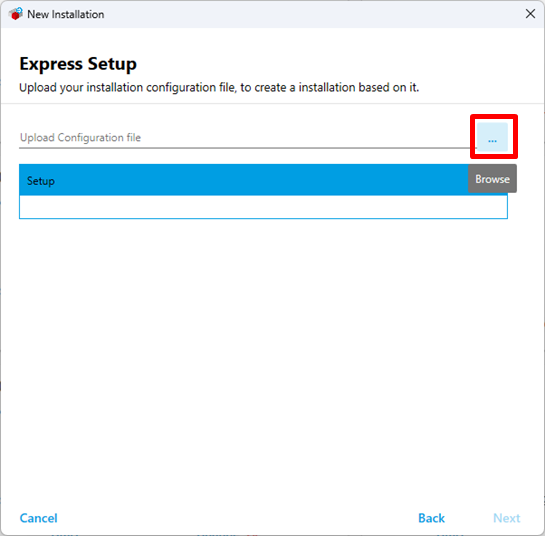
In the Upload Configuration File line select the icon with the 3 dots.
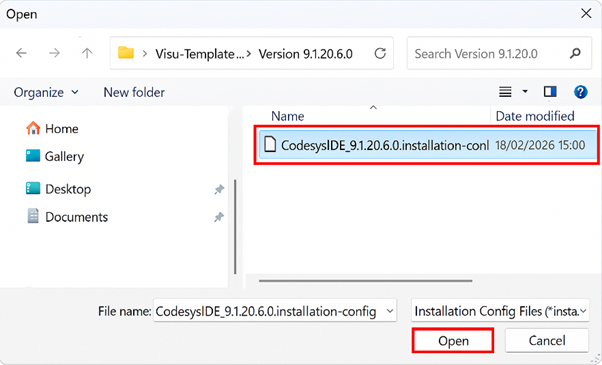
Select the provided installation configuration file and confirm with Open.
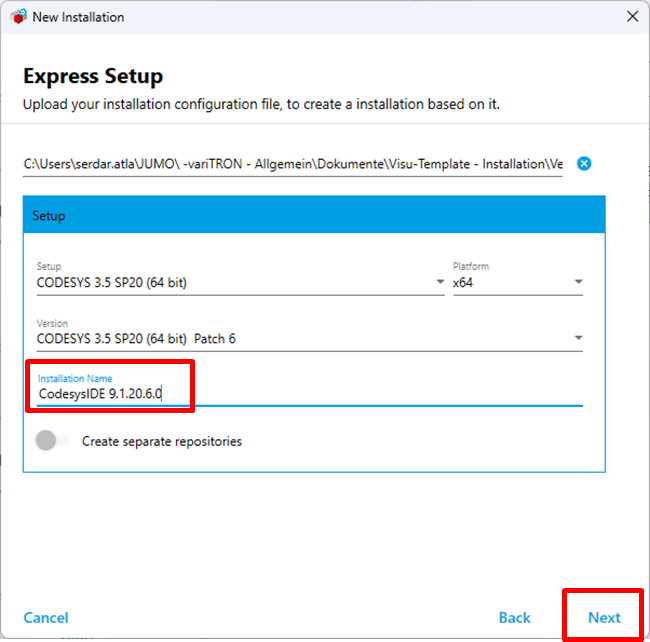
The required CODESYS version and all defined settings are automatically retrieved from the configuration file.
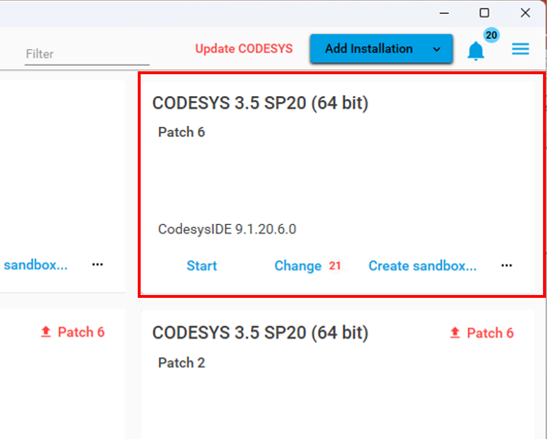
The new installation is then assigned a unique name such as CodesysIDE_9.1.20.6.0 and confirmed with Next.
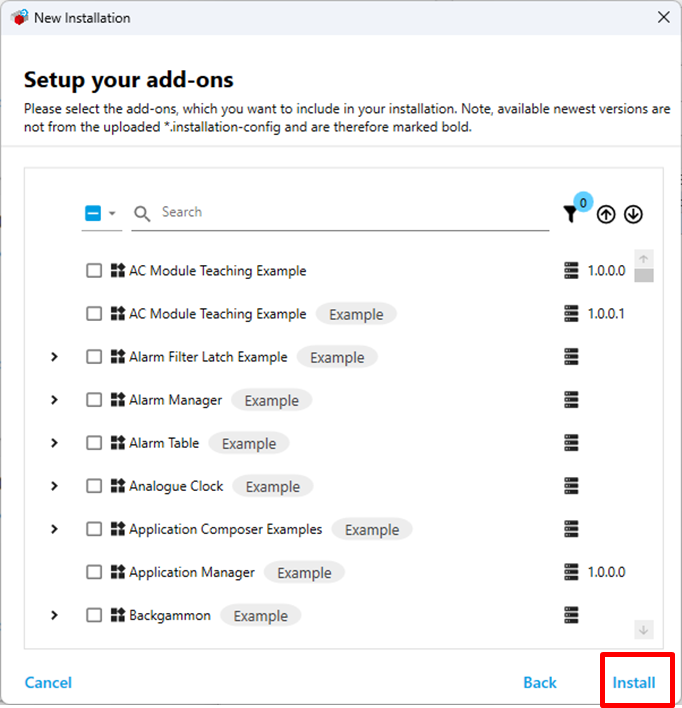
If additional add-ons are required, they can be selected in the same step.
Install starts the installation process.
An overview of all packages to be installed is displayed and confirmed with OK.

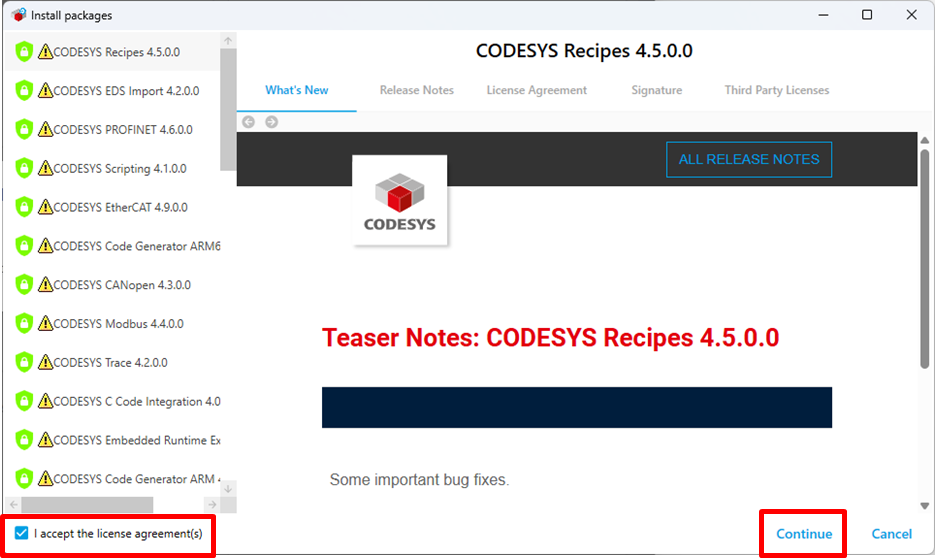
After that, all license terms must be accepted by activating the corresponding checkboxes before proceeding with Continue.
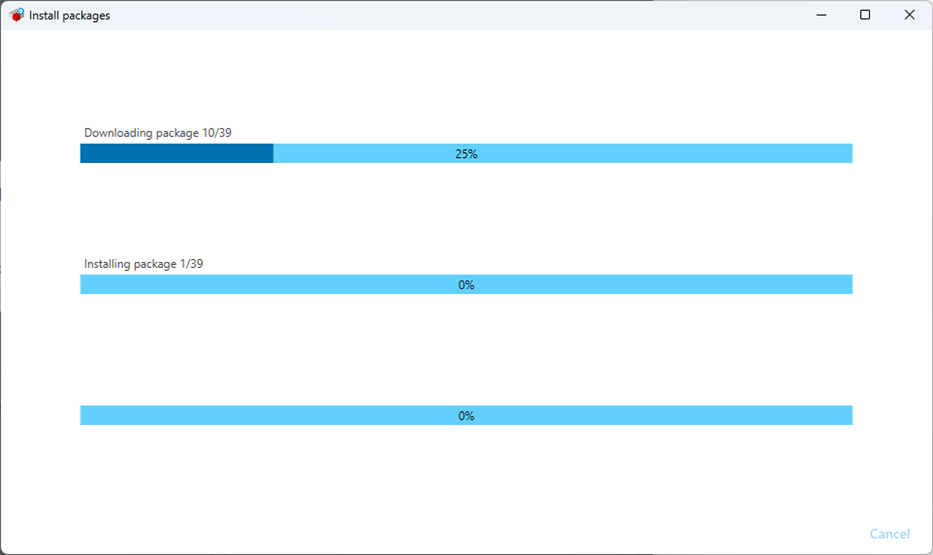
The progress of the installation is shown by a progress bar which may take several minutes.
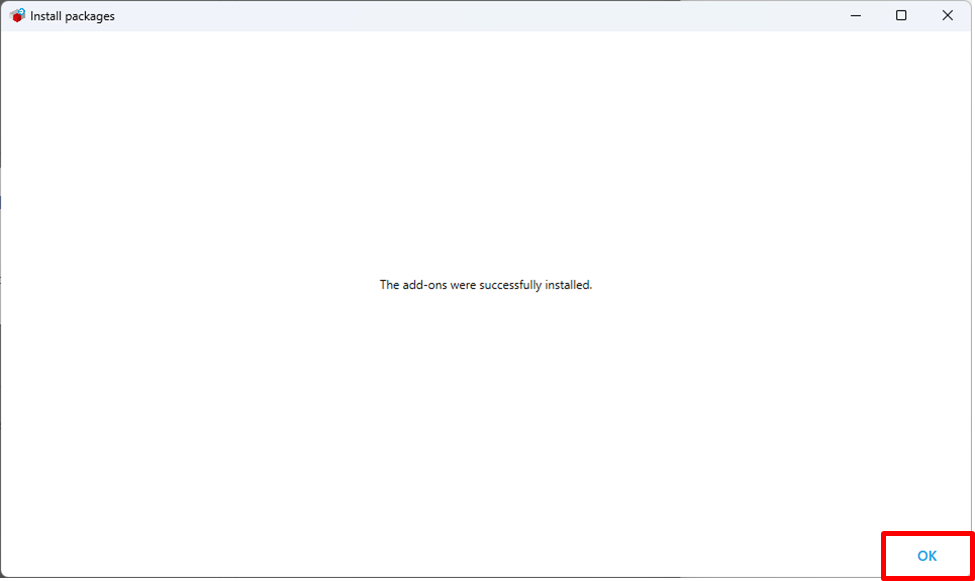
After successful completion a message appears that can be closed with OK.
In the CODESYS Installer a new tile is then displayed that contains all the add-ons that are defined in the configuration file.
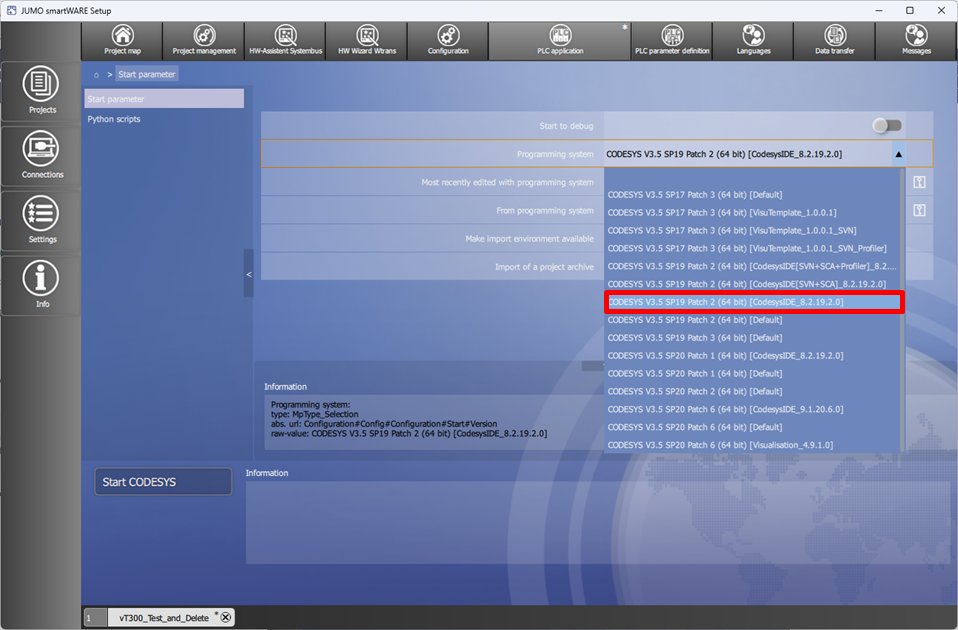
In the smartWARE Setup the associated CODESYS project can then be opened directly with the suitable development environment.