Setting Up Widgets
Add Widget
Select predefined widget size in the left selection menu.
Click the selected size to place it directly in a free space.

Add User-Defined Widget Sizes
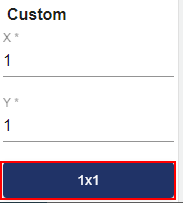
Enter the vertical and horizontal size of the widget in the fields on the bottom left of the page. Only whole numbers are accepted!

Select the dark blue button to insert the widget.
Widget Selection
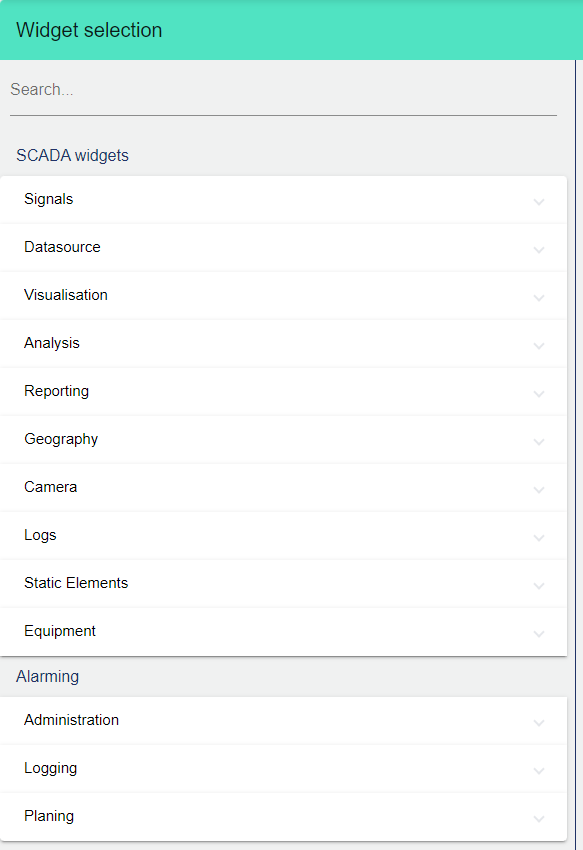
You can find the widget selection in the Edit mode of a new or existing widget.
Search Widgets
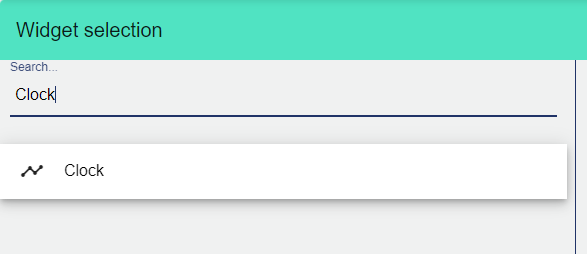
Use the search bar to quickly find a specific widget.
Save Changes to Widgets
After completing the configuration, click the disk icon at the top right of the window to save.

Discard Changes to Widgets
To discard the changes from an edited or new widget, click the "X" icon.

Remove Widget
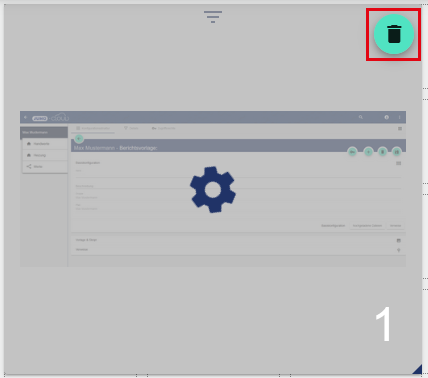
Select the widget to be deleted.
Select the trash can icon and confirm.
Change Size
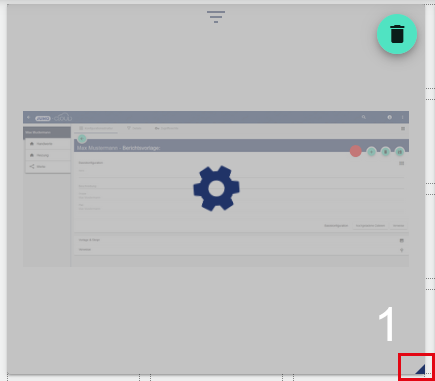
Place the cursor at the edge of the widget.
The widget can be dragged in the horizontal or vertical direction until reaching the required size.
Save.
Moving Widgets
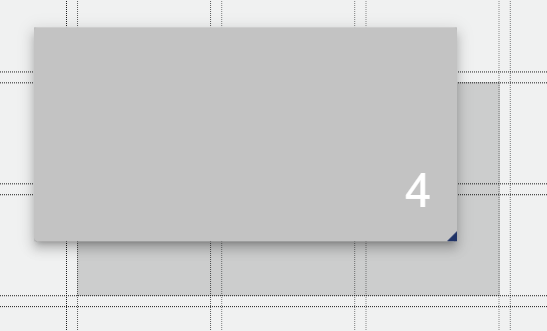
Hold down the mouse button and drag the widget to the required position. Then release the mouse button.
Widgets can be copied, for information see Copying Widgets.
Numbering Widgets
The widgets are pre-numbered by the system in the order in which they were created. This is helpful for identification in the event of a support request.

Change Widget Settings
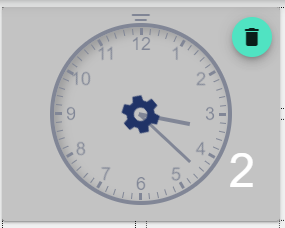
The settings for the widget can be accessed from the Dashboard Edit mode. There is a rotating cogwheel next to each widget, which you can click to open the settings.

Widget Header
For most widgets, there is an icon in the center of the top border that allows you to expand the widget header. To do this, enable the header in the widget configuration. If this is not enabled, the header is displayed permanently. This menu closes automatically after a few seconds.
Switch Widget to Full Screen Mode
To view the selected widget in full screen mode, first open the widget header and then click the "Full Screen" icon.

