Use
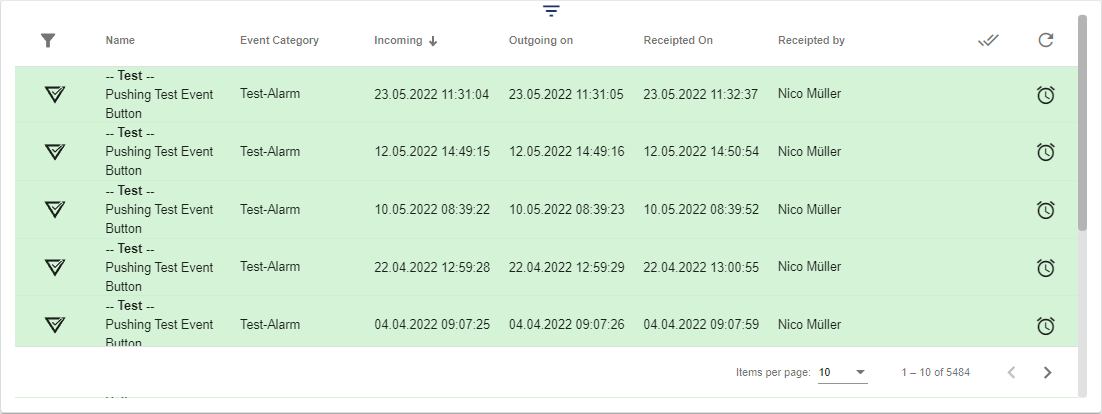
The "Event Archive" widget displays the history of the previously occurred "Events". The widget presents various details for these "Events", such as the category of the "Events" or whether this "Events" has already been acknowledged. For the widget to display something, "Events" must have occurred in advance.
See also: How do you create an alarm schedule?

|
Color |
Event Status |
|
Name |
Event Name |
|
Event Category |
Event Category |
|
Incoming |
The event is received and is active |
|
Outgoing |
The event is no longer active |
|
Acknowledged |
Time when the event was acknowledged |
|
Acknowledged by |
User who acknowledged the event |
|
Double checkmark |
The events can be acknowledged here. All events can be acknowledged by clicking the double checkmarks in the header. By clicking the single checkmark for a specific event, only that one event is acknowledged. |
|
Refresh |
You can refresh the Event Archive here |
|
Clock Icon |
|
|
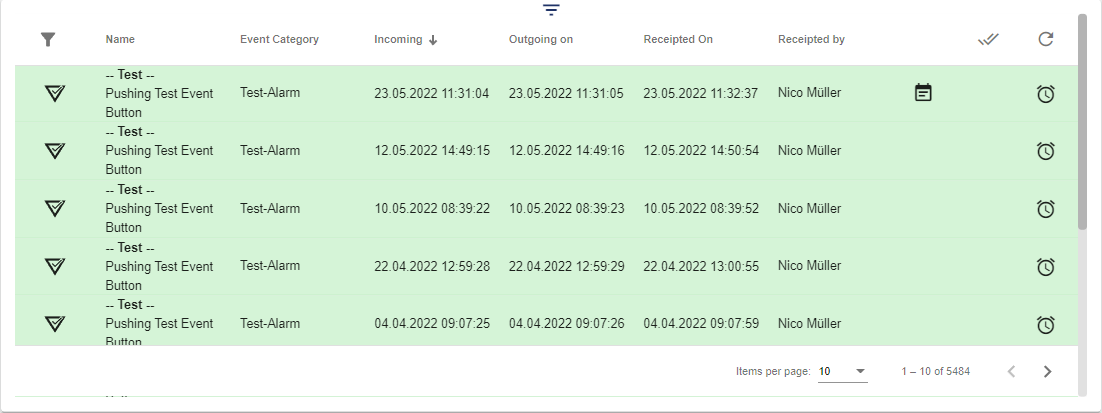
Note Icon |
Indicates whether there is a note for the event |
|
Filter |
Clicking the filter icon opens the filter. There you can select different filter categories and search for a specific value in a free text field. |
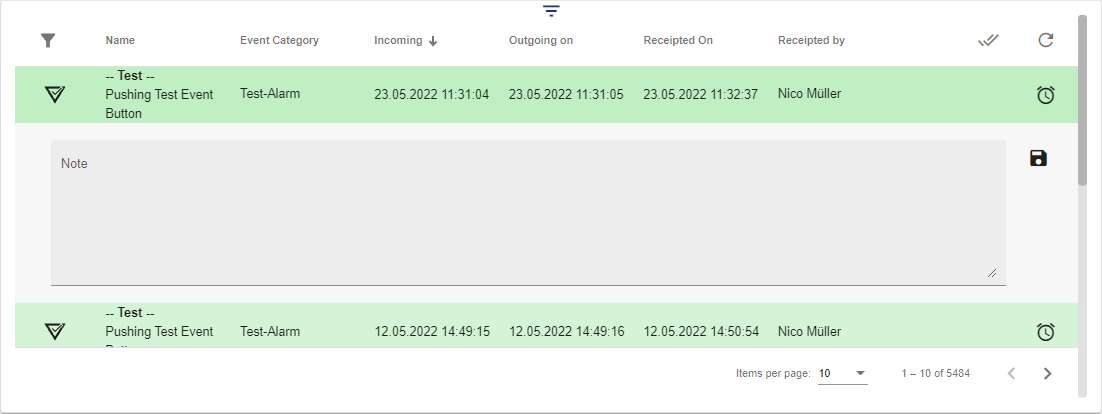
Below is the option to leave a note (remember to save):

After saving, a small Note icon is displayed.

Configuration
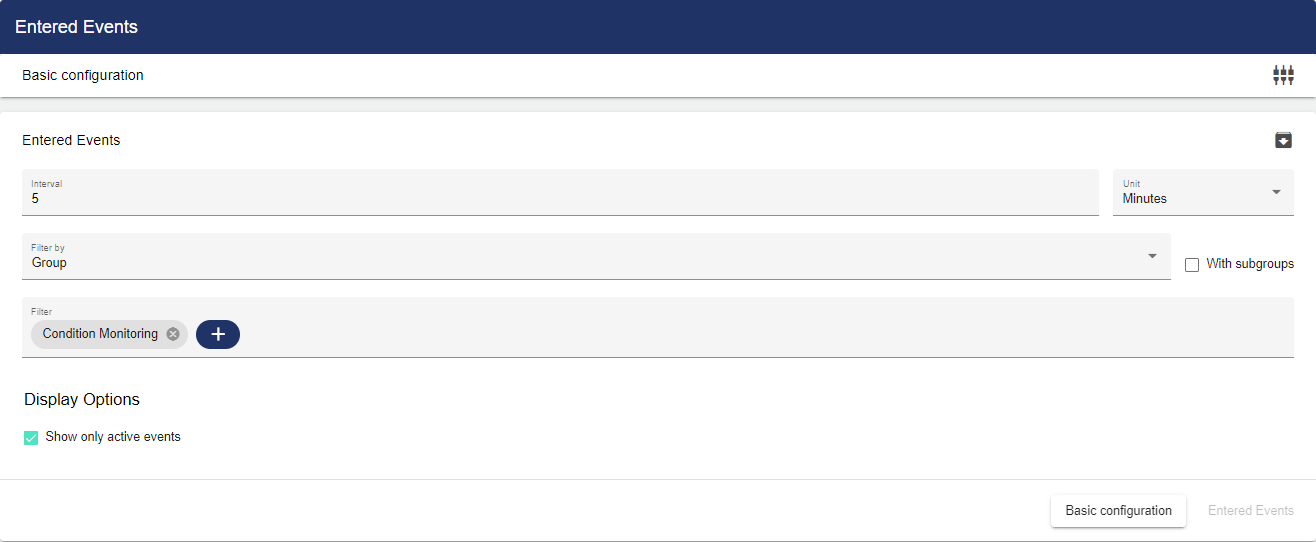
Select the Event Archive widget from the Log category.

In the Basic Configuration of the Event Archive, assign a suitable label (title). The header can be displayed by selecting the check box.

Then go to the "Event Archive" tab and specify the interval at which the application is to check the server for new events. An interval determines the rhythm according to which the Event Archive is updated. The length of the interval can be defined individually. "Interval" (number) and "Time unit" (second or minute) define the length of the interval. By adding elements in the Filter section, you can instruct the widget to show you only the selected items.
Selection options "Filter by":
|
Group |
In the "Filter" area, you can filter by Groups. Here you can also specify whether the sub-groups of the Group are to be integrated into the filter result by clicking "Include sub-groups" |
|---|---|
|
Event Category |
In the "Filter" area, you can filter by Event Category. |
|
Alarm Schedule |
In the "Filter" area, you can filter by Alarm Schedule. |
After making a choice under "Filter by", you can click the "+" button in the "Filter" area to access entity Select. There you can now choose between the different Groups/Event Categories/Alarm Schedules, depending on the selection in the "Filter by" field.
If only active events that have not been acknowledged are to be displayed, you can set a check box for this.

Once you are satisfied with your configuration, you can save it.


